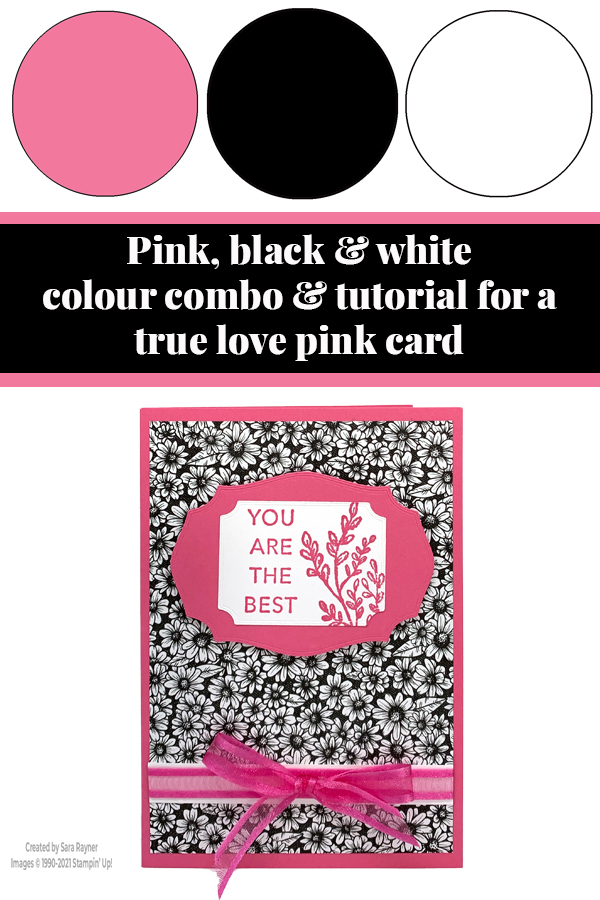
Today’s tutorial is for a True Love Pink card. Throughout this week I’m combining the True Love DSP (available now) with sneak peeks of the new 2021-2023 In Colors (coming 4 May). Today’s card uses the Polished Pink card, ink, and ribbon.
Sorry that I’m a day late with this post, my day job got in the way a little. I was attending day 2 (online) of a 4 day Mental Health First Aid course yesterday. I had planned to create this card afterwards, in the afternoon. All plans went out of the window when I needed to provide some urgent care to a new client, to treat the pain caused by a bad rotator cuff (shoulder) injury. If I think that I can help reduce someone’s pain, then making them wait over the weekend doesn’t sit right with me, so I hope that you’ll understand. To catch up, I’ll be posting another card later today and then the final new In Color tomorrow.
In the tutorial below, I take you step by step through creating the True Love Pink card. I also have a supply list for purchasing anything you don’t already own. Although you can’t order the new In Colors until 4 May you can easily switch another colour for the Polished Pink.
For more sneak peeks you can check out the video as I shared the unboxing of my pre-order from the 2021 Annual Stampin’ Up! catalogue.
If you’d also like to be able to pre-order from the new catalogue and get a discount on your future purchases then please have a think about joining my team and get in touch if you’d like to know more.
Colour Combo
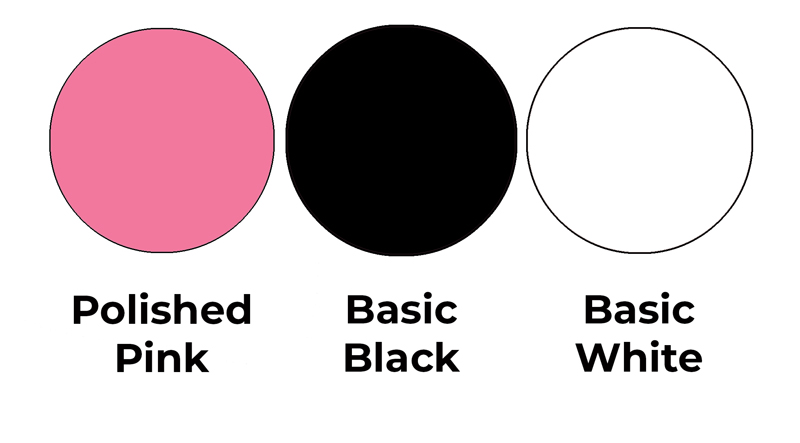
The colour combo mixes Polished Pink with simple black and white.
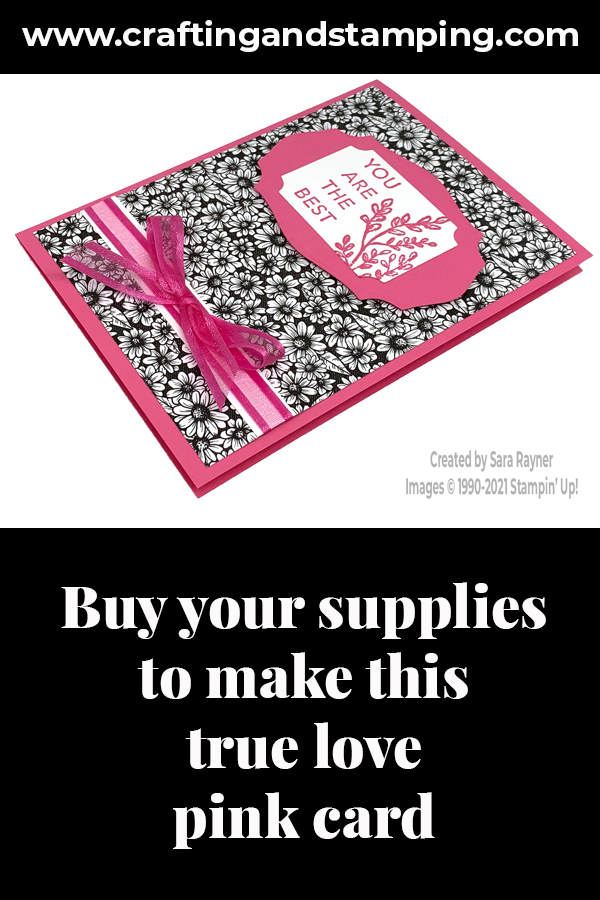
True Love Polished Pink card
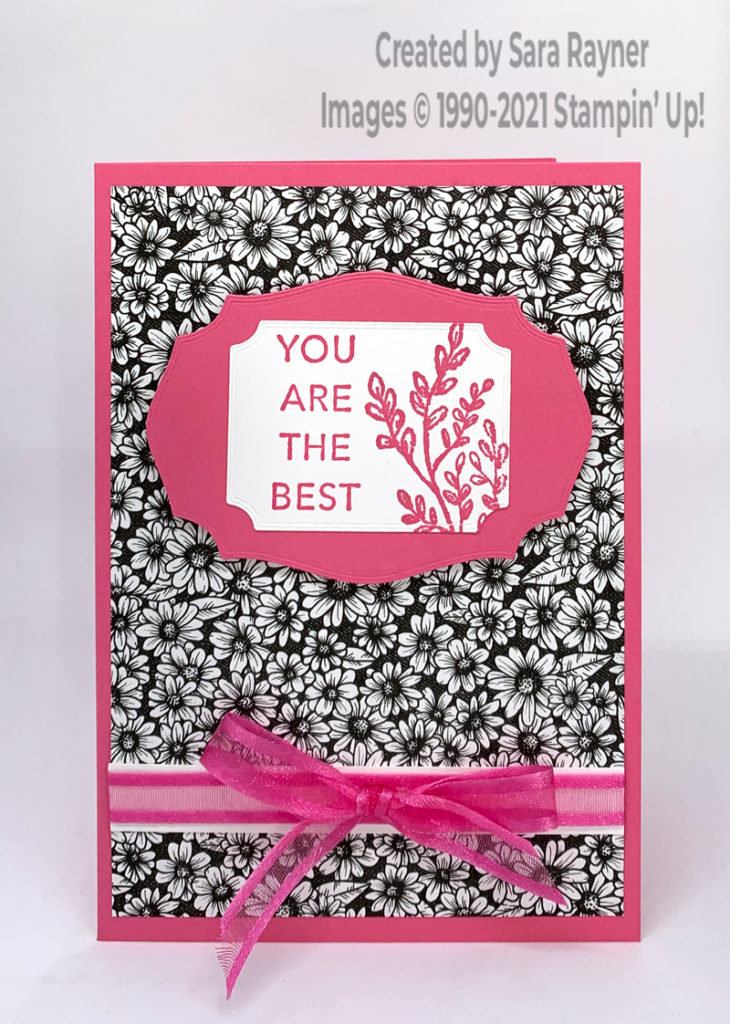
Start with an A6 portrait card of Polished Pink. Add a thin strip of Basic White Card to the lower portion of a card front layer of True Love DSP. Wrap Polished Pink ribbon around the Basic White strip and secure on the reverse. Adhere the layers direct to the card front. Add a bow of the same ribbon to the centre of the wrapped ribbon.
Die cut two different size labels from Polished Pink and Basic White card using the Tasteful Label dies. Using Polished Pink ink, add a sentiment from the Tasteful Touches set to the white label. Add the spray of leaves from the same set. Adhere the labels together direct and pop them up on the card front with dimensionals.
Please note: the Tasteful Label dies and the Tasteful Touches stamp set will still be available in the new catty but if you want to save 10% on buying them both together then you only have until 3 May.
True Love Polished Pink card insert
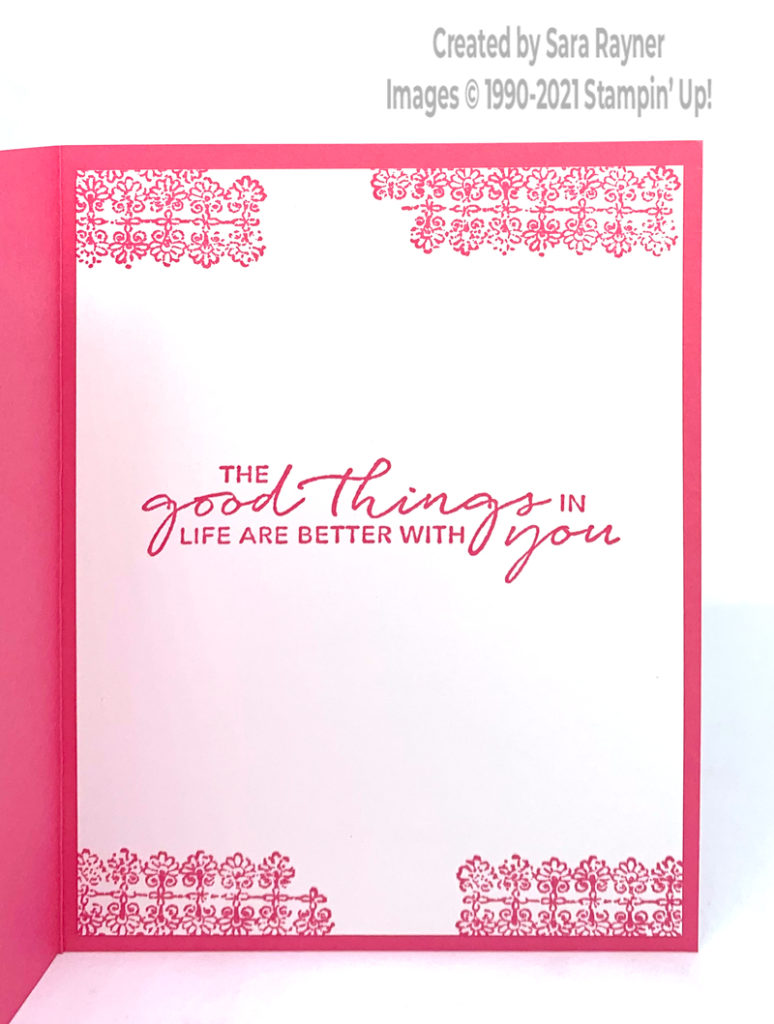
On the Basic White insert, stamp another sentiment from the Tasteful Touches set, along with a split border on the top and bottom of the insert with Polished Pink ink.
Here’s a video showing a matching box to go with the card. Please subscribe to my Youtube channel to make sure you see all future quick tips.
Thanks for stopping by.
Sara xx
Buy the supplies for this True Love Pink card in my online shop.


0 Comments
Trackbacks/Pingbacks