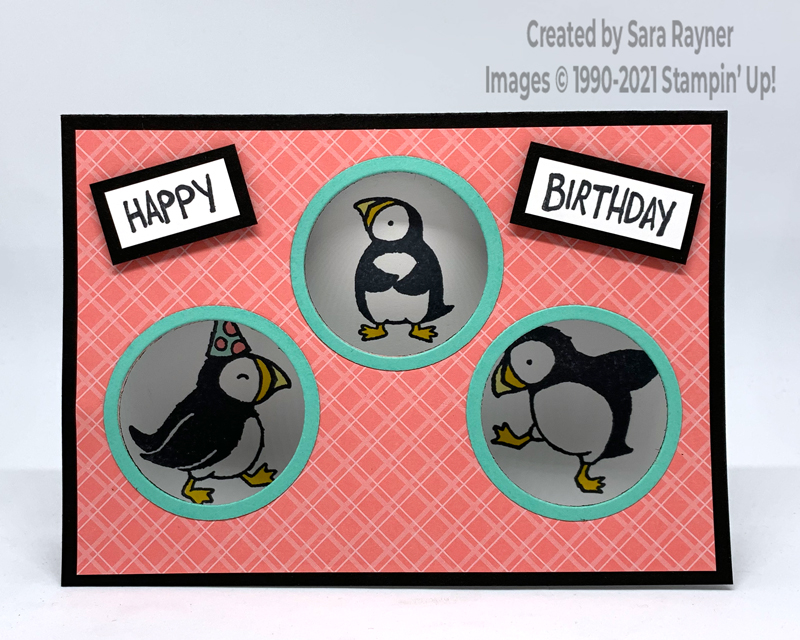
Today’s tutorial is for a puffin party birthday card. This card is stepped up from the previous simple versions and uses all three puffins.
In the tutorial below, I take you step by step through creating the puffin party birthday card. I also have a supply list for purchasing anything you don’t already own.
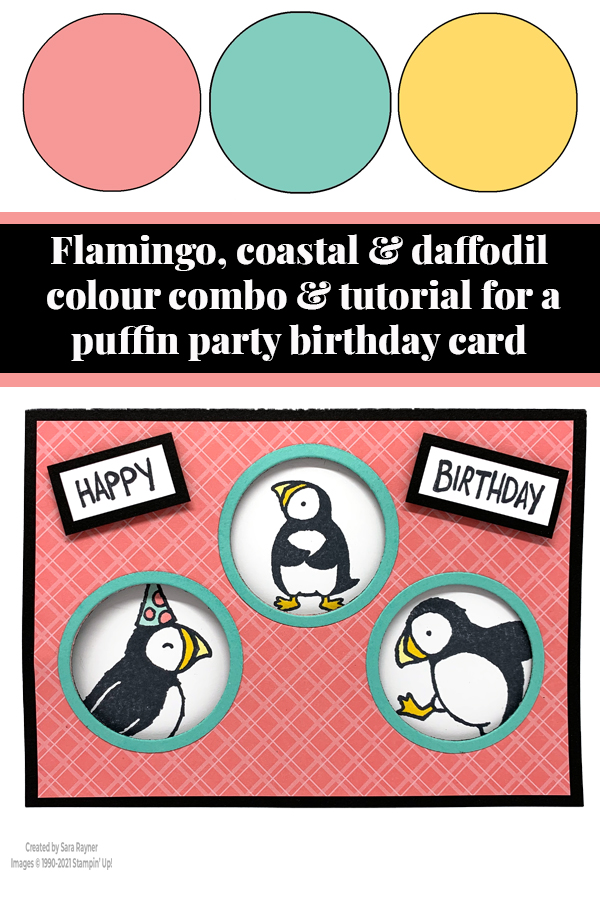
Colour Combo
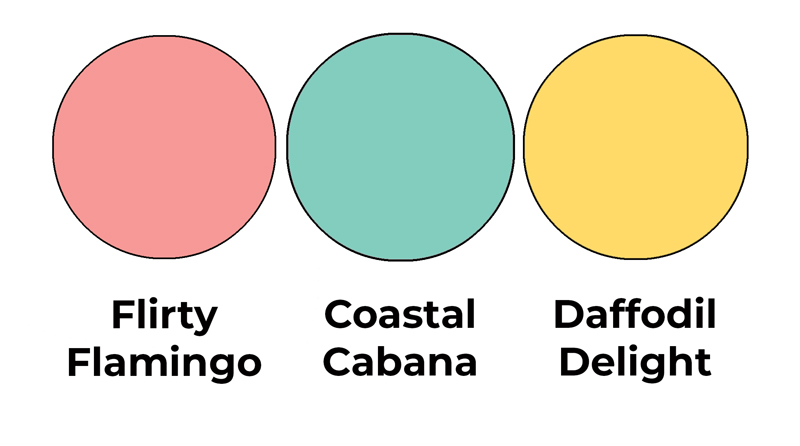
The colour combo mixes Flirty Flamingo, Coastal Cabana and Daffodil Delight.
Puffin party birthday card
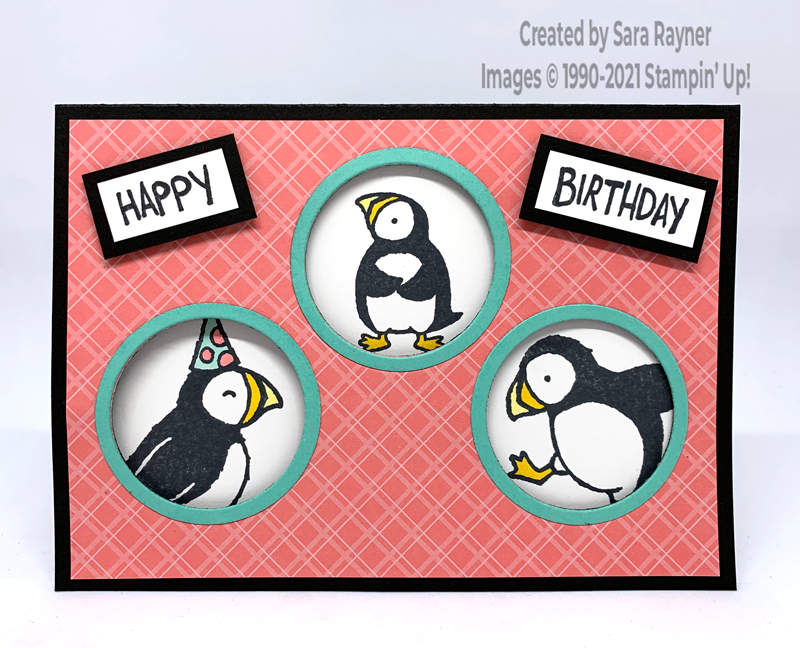
Start with a top folding A6 landscape card of Basic Black. Adhere a card front layer of Flirty Flamingo Brights DSP. (Tip – I recommend a very even coverage of adhesive to the back of the DSP. I applied SEAL in close strips but the card and paper still buckled a little at the next stage). Using Layering Circle dies, die cut three circles from the front of the card. Use the same circle die and the next largest to die cut three frames from the Coastal Cabana card and adhere these around the windows created. Using Memento Black ink, stamp the birthday sentiment from the Party Puffins set, onto small rectangles of Basic White card. Mat onto Basic Black card and then pop up on the card front with dimensionals.
Puffin party birthday card insert
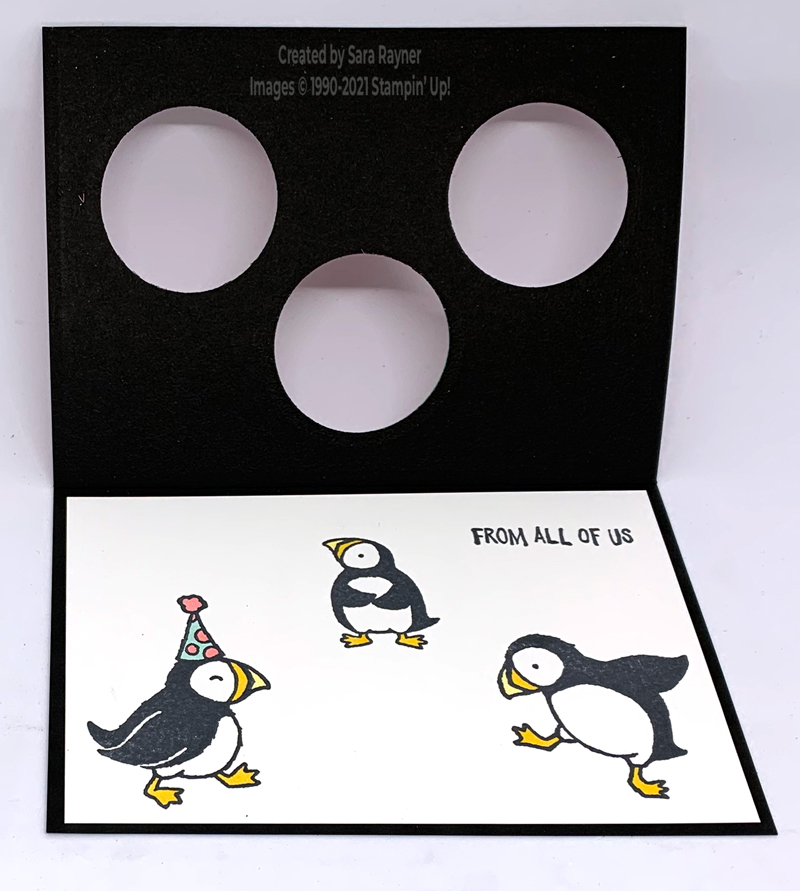
Use a pencil to trace through the windows of the card front onto the Basic White insert. Using Memento Black ink, stamp the trio of puffins into the centres of the pencilled circles. Add another sentiment from the set where it won’t show through a window. Once the ink is dry, erase the pencil marks. Colour the puffins with Blends.
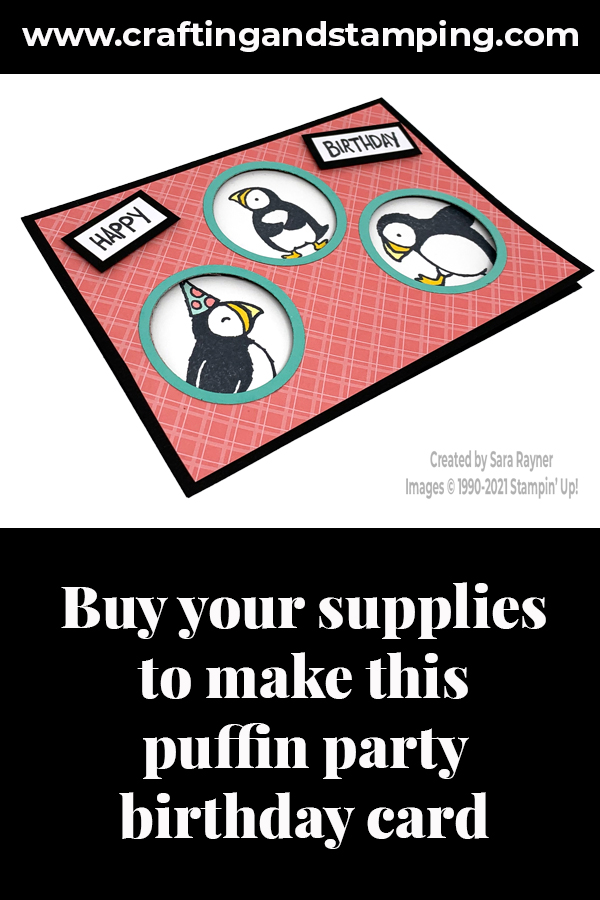
When the card is stood open the puffins can still be seen through the windows.
Thanks for stopping by.
Sara xx
Buy the supplies for this puffin party birthday card in my online shop.


0 Comments