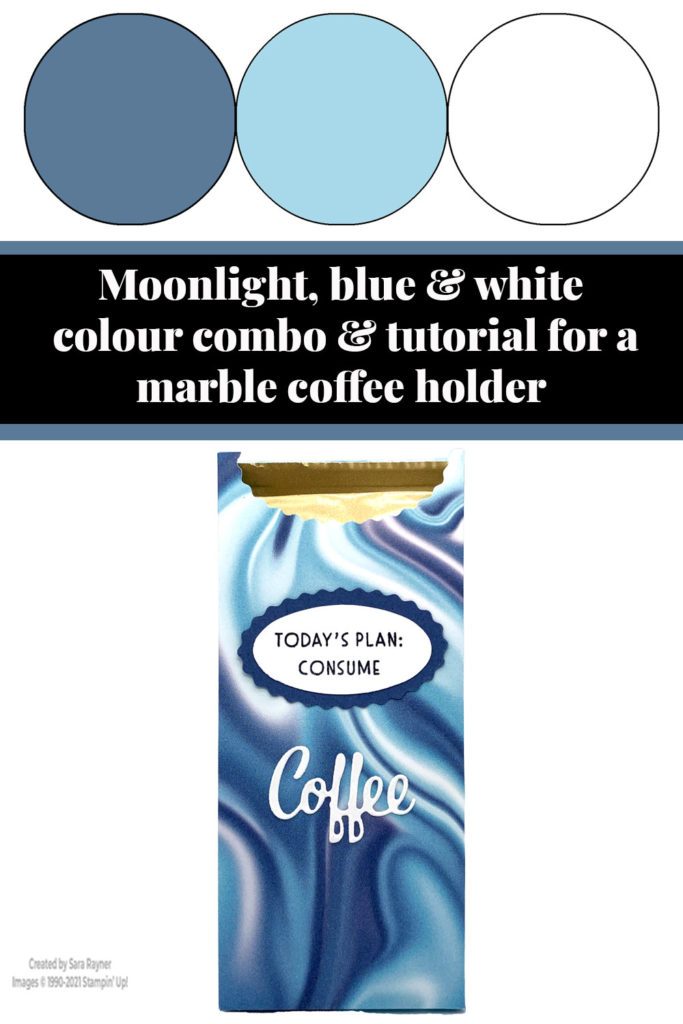
Today’s tutorial is for a marble coffee holder. It showcases one of the Sale-a-bration freebie products that we’ll have waiting for you in January.
In the tutorial below, I take you step by step through creating the marble coffee holder.
Sneak Peek
The sneak peek on this project is the Simply Marbleous DSP. These are 6″ x 6″ papers, a total of 48 sheets: 8 each of 6 double-sided designs! (Scroll down to see all six). This DSP pack will be free with a £45 purchase during Sale-a-bration, starting on 4 January 2022.
Colour Combo
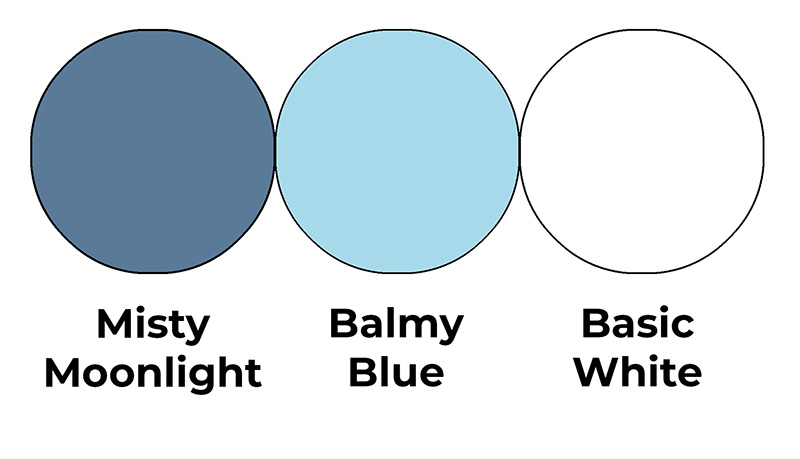
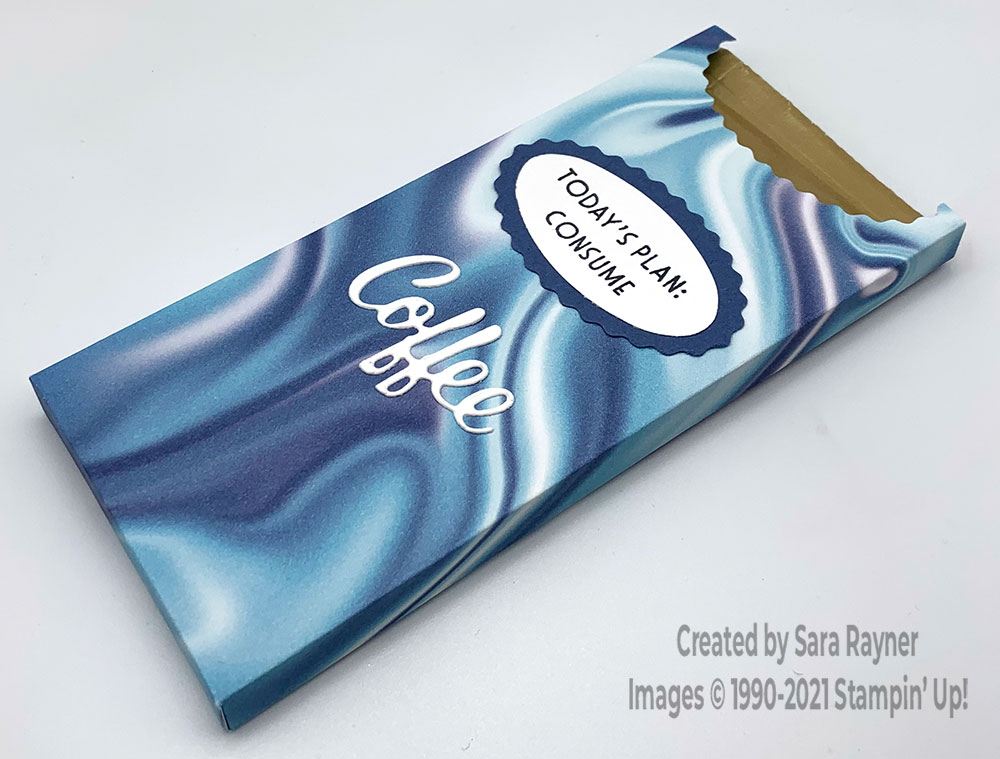
The colour combo mixes Misty Moonlight, Balmy Blue and Basic White.
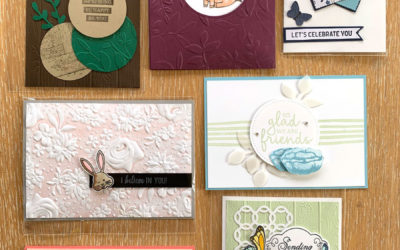
Marble coffee holder
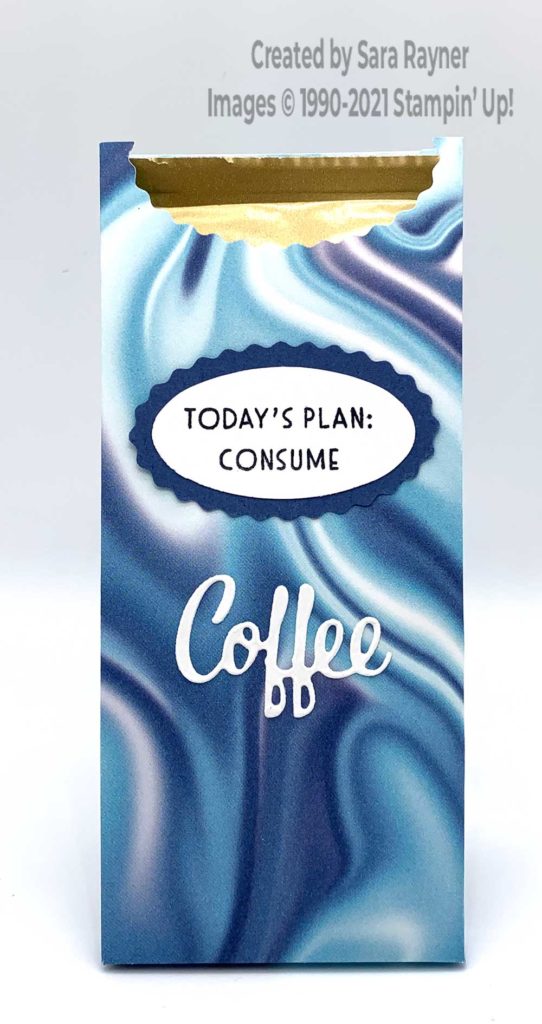
Start with a 6″ x 6″ piece of Simply Marbleous DSP. Score at 2-1/2″, 2-7/8″, 5-3/8″, 5-3/4″ , turn 90° and score at 3/8″. Snip a skinny “v” at each tabbed edge and trim away the tabbed corner completely. Using the Double oval punch, punch away a semi-circular oval from the top of the front panel. Adhere the side tab in place and then fold in adhere the base. Use the Double Oval punch to punch a scalloped oval from Misty Moonlight card and plain one from Basic White card. Stamp a sentiment from the Nothing’s Better Than set on the plain oval with Memento Black ink. Adhere the two ovals together and then to the front of the coffee holder. Die cut the coffee sentiment from Adhesive-backed Basic White card using the Love You More Than dies set and adhere direct below the ovals.
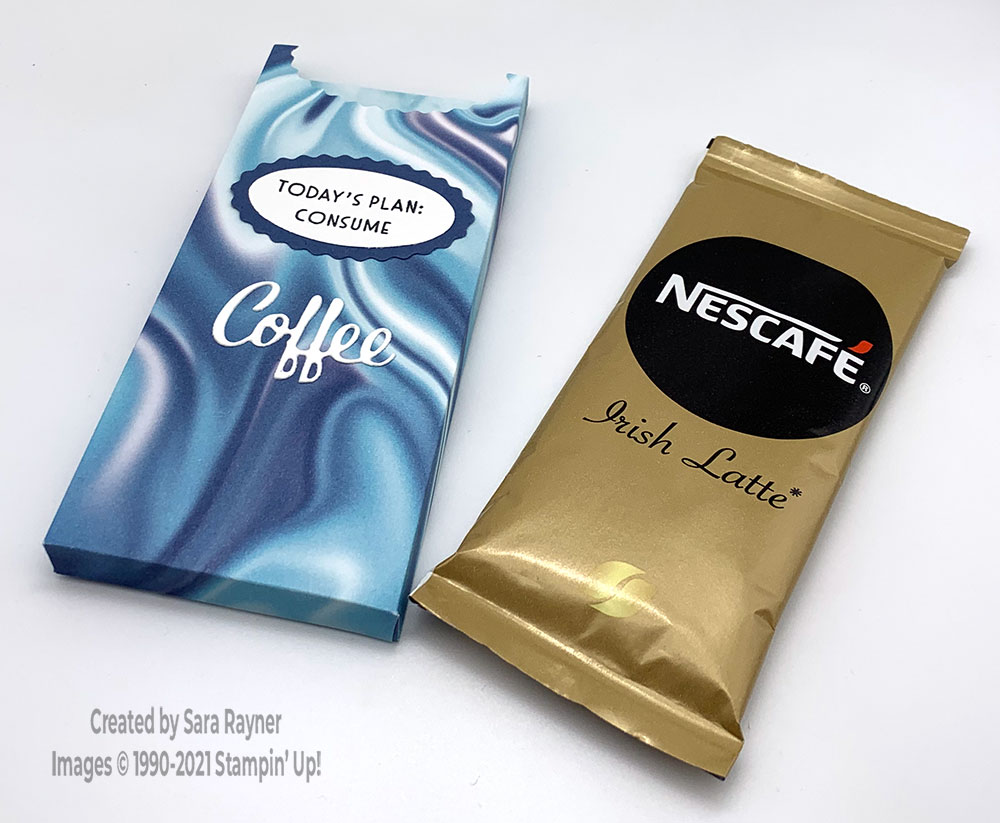
The coffee sachet fits nice and snugly.
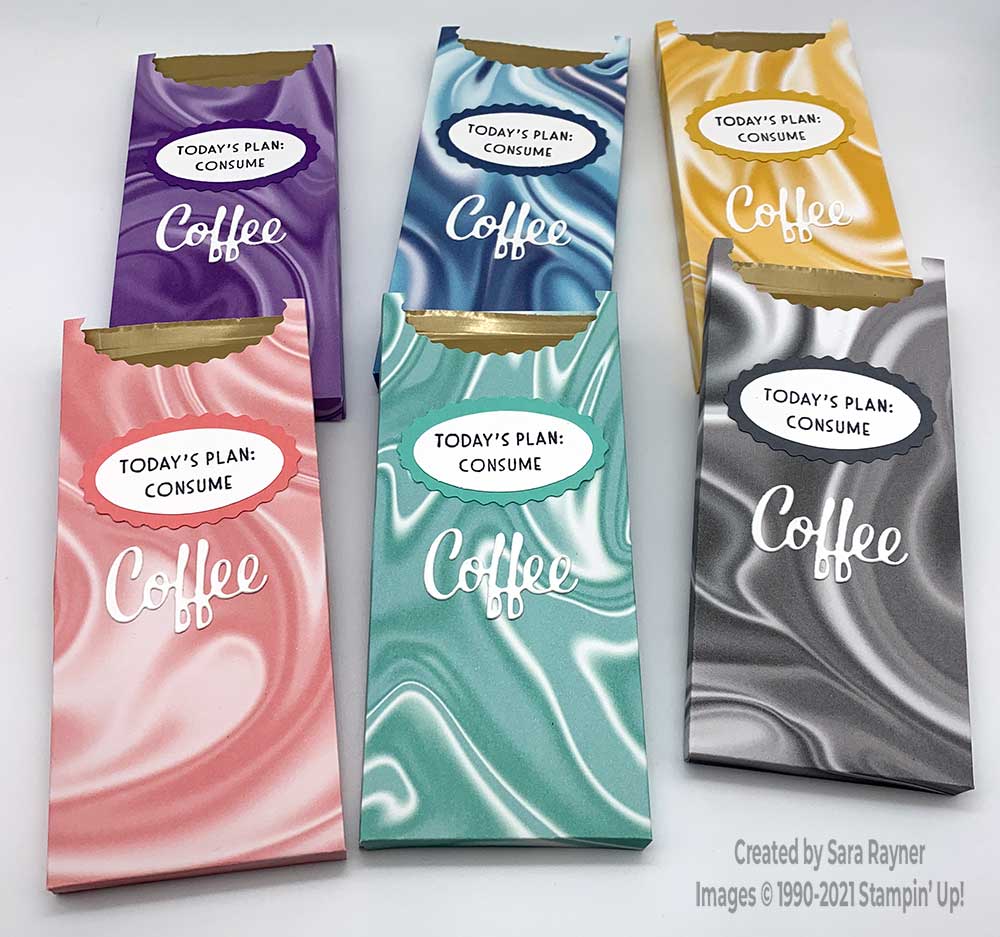
Here is the full set of 6 colours that come in the Simply Marbleous DSP pack. I sent one of these coffee holders with the catties I sent out to my customers (and also a Christmas card, not pictured).
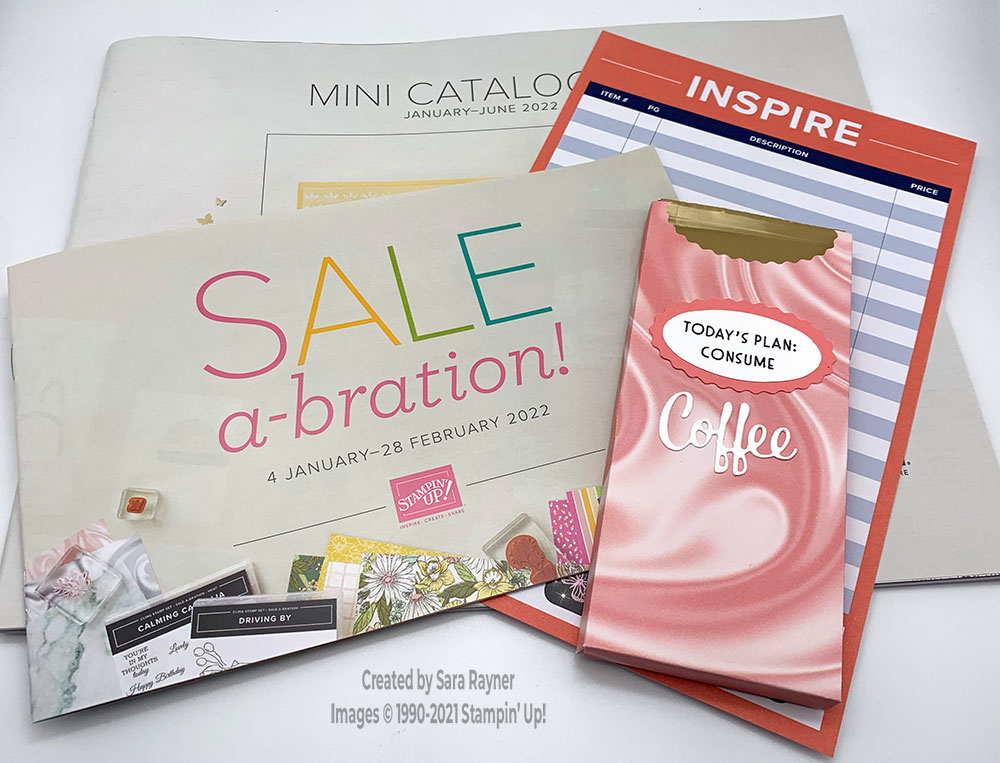
If you don’t have a catalogue yet, or your own demonstrator to get one from, then please get in touch with me for your own paper copy.
Thanks for stopping by.
Sara xx
0 Comments