Please note that there is still time to benefit from our Sale-a-bration and qualify for free products until 28 February. Purchasing the Easter Bunny bundle (saving 10%), together with the He’s The Man Specialty DSP, would qualify you for a Level 1 Sale-a-bration freebie.
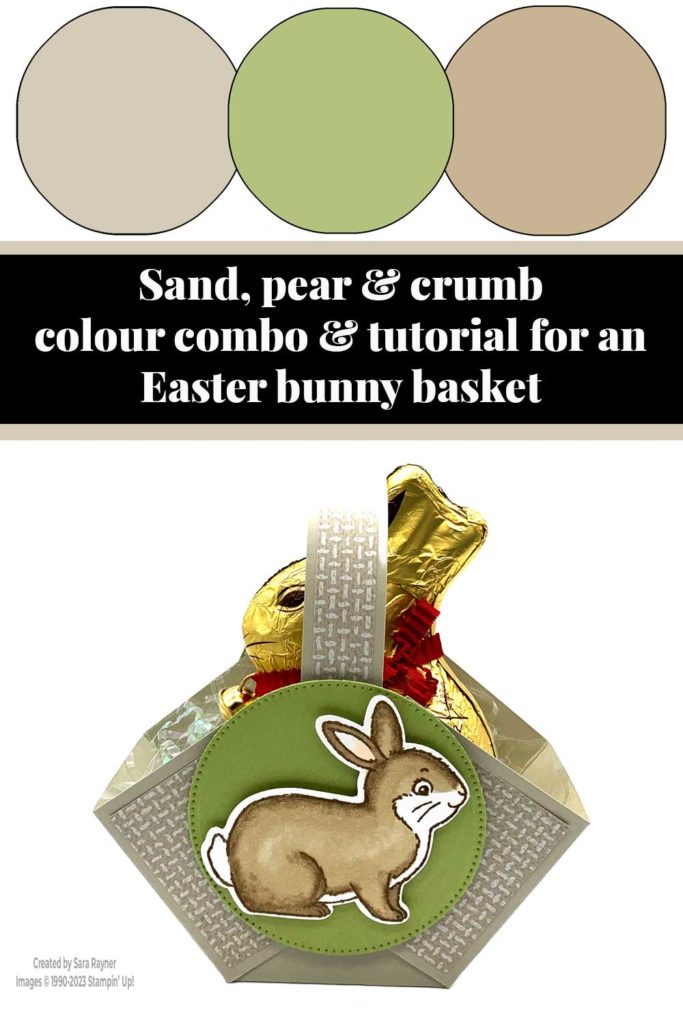
Colour Combo
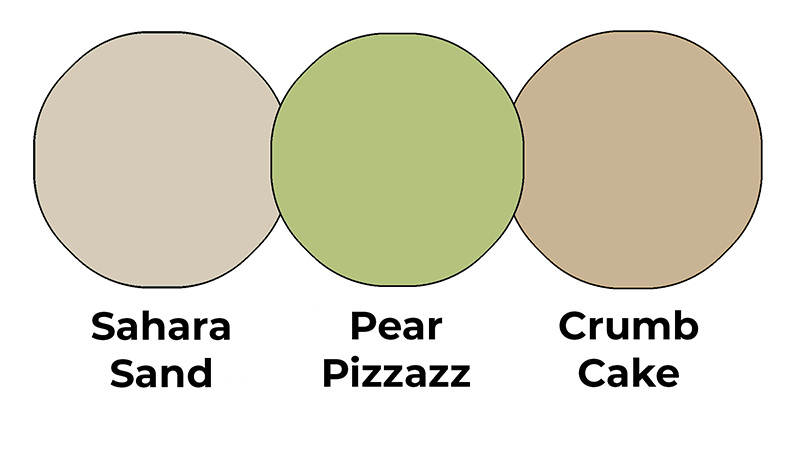
This colour combo mixes Sahara Sand, Pear Pizzazz and Crumb Cake.
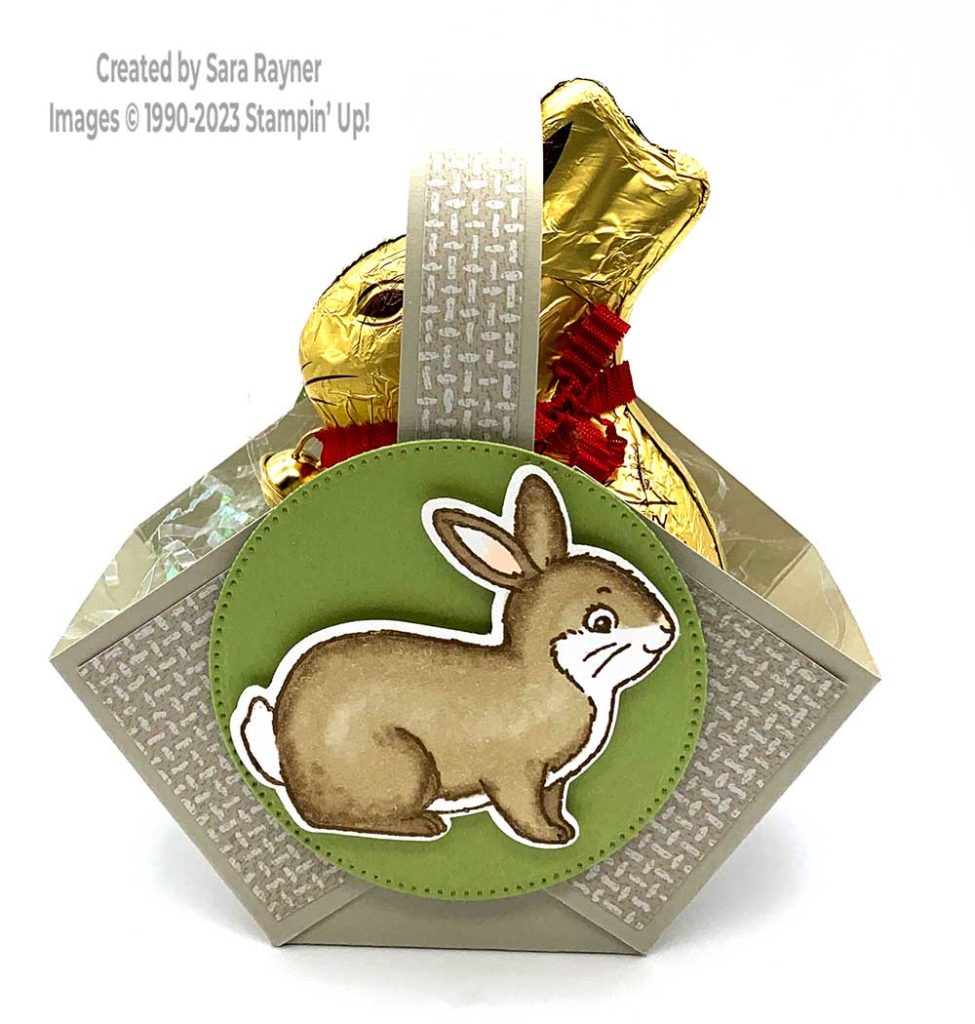
Easter bunny basket
See video for a demonstration of the scoring, cutting and decoration. Start with a 6″ x 6″ piece of Sahara Sand card. Score at 2″ and 4″. Rotate 90° and score again at 2″ and 4″. Cut up the vertical scorelines from the base as far as the horizontal scorelines. Rotate 180° and cut up the vertical scorelines again from the base as far as the horizontal scorelines (so that the cuts are opposite one another). Cut six pieces of 1-3/4″ x 1-3/4″ He’s The Man Specialty DSP. Adhere the three of the DSP squares to 3 adjoining square panels of the basket base (ie. with no cuts in between). Repeat on the opposite 3 adjoining square panels. Fold the corner squares over the centre square and adhere. Repeat on the opposite side.
Cut a 3/4″ x 8-1/4″ (end of an A4 sheet) strip of Sahara Sand card. Cut a 1/2″ x 8-1/4″ strip of He’s The Man Specialty DSP and adhere direct to the Sahara Sand strip. Curl over a bone folder and adhere to the inside of the basket. Using the Easter Bunny bundle and Stylish Shapes dies, create a topper for the basket exactly as created for the Easter bunny card, but leaving the Pear Pizzazz circle complete. Pop the topper up on the front of the basket with dimensionals.
This short video shares tips and a demonstration for making the basket. Please subscribe to my Youtube channel to see my quick cards and quick tips each week.
Easter bunny basket inside

I added a chocolate bunny to my basket, nestling it in some shredded filler.
Easter bunny basket back

Create another topper for the back of the basket. This time, stamp just the head of the front facing bunny and a sentiment from the Easter Bunny stamp set. Stamp with Soft Suede ink, onto a Stitched Circle, die cut from Basic White card with the Stylish Shapes dies. Colour as for the bunny on the front. Pop the coloured bunny up on the Pear Pizzazz circle with dimensionals. Add the topper to the back of the basket with more dimensionals.
Thanks for stopping by.
Sara xx
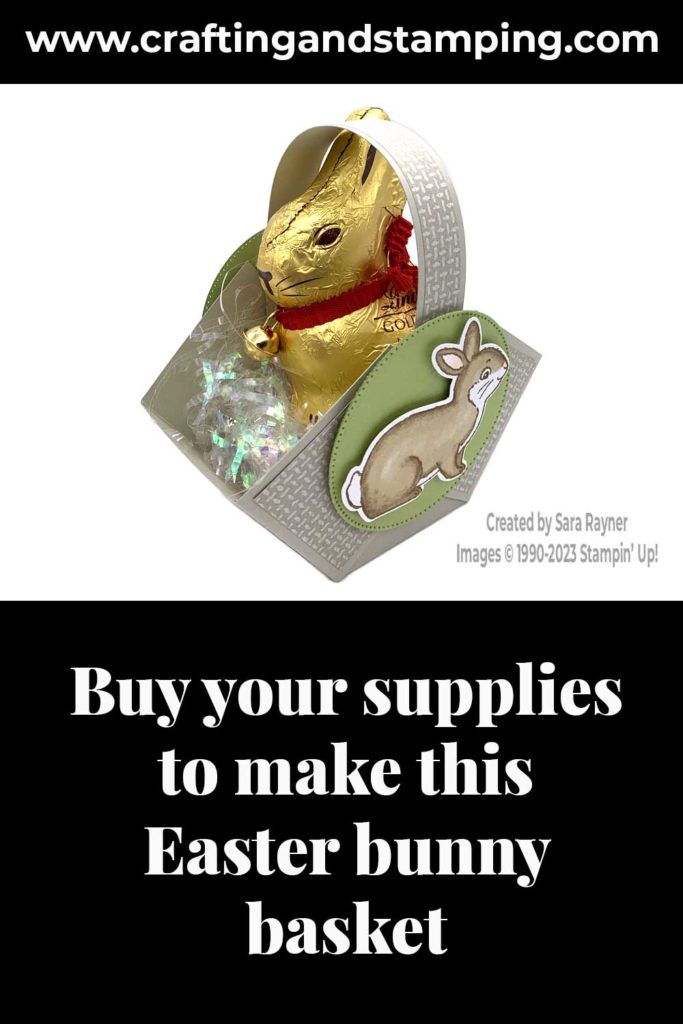
Buy the supplies for this Easter bunny basket in my online shop.


I love this make. Simple but very effective. I’ll definitely have a go at this one. Thank you.
You’re welcome Lynn. I reuse this idea every year in some form. It’s an easy make and also simple to spruce up and make special with your choice of embellishments. I look forward to seeing what you do with it!