This heartwarming Christmas box tutorial was another of the make and take projects at our Paper Dolls team meeting earlier this month.
In the tutorial below, I take you step by step through creating the Christmas box. I also have a supply list for purchasing anything you don’t already own.

This box is designed to co-ordinate with my heartwarming Christmas card. I made two of each card and box; one with the diagonal striped DSP and one with the chequered design of DSP.
Colour Combo
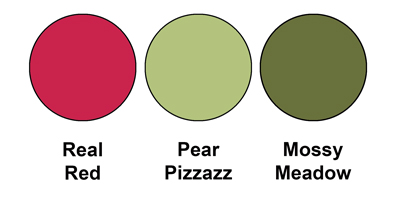
The colour combo mixes Real Red, Pear Pizzazz and Mossy Meadow.
Heartwarming Christmas Box Tutorial

Assemble the Clear Tiny Treat Box according to the instructions that come included. Trim a panel of Heartwarming Hugs DSP (just a slightly less on each edge) than 6″ x 2″. Score at 2″ from each end and sit the DSP strip inside the box.
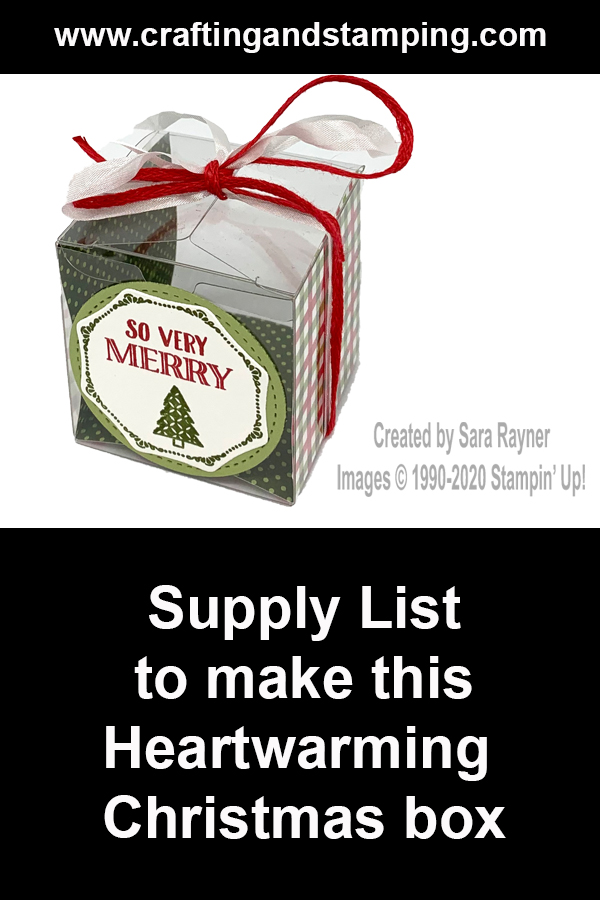
Using Mossy Meadow ink, stamp the octagonal frame from the Warm Hugs set onto a scrap of Whisper White card. Use the same ink to stamp both the outline and fill in Christmas trees at the base of the frame. Add a sentiment from the same set above the tree using Real Red ink. Die cut out the framed sentiment using the co-ordinating die from the Warm Wraps die set. Adhere direct to a stitched circle from the same die set, die cut from Pear Pizzazz card. Adhere the layered labels direct to the box front.
Layer lengths of Whisper White Crinkled Seam Binding Ribbon and Real Red Braided Linen Trim together and anchor the centres of them to the base of the Clear Box with Mini Glue Dots. Tie in a bow on the top of the Box.
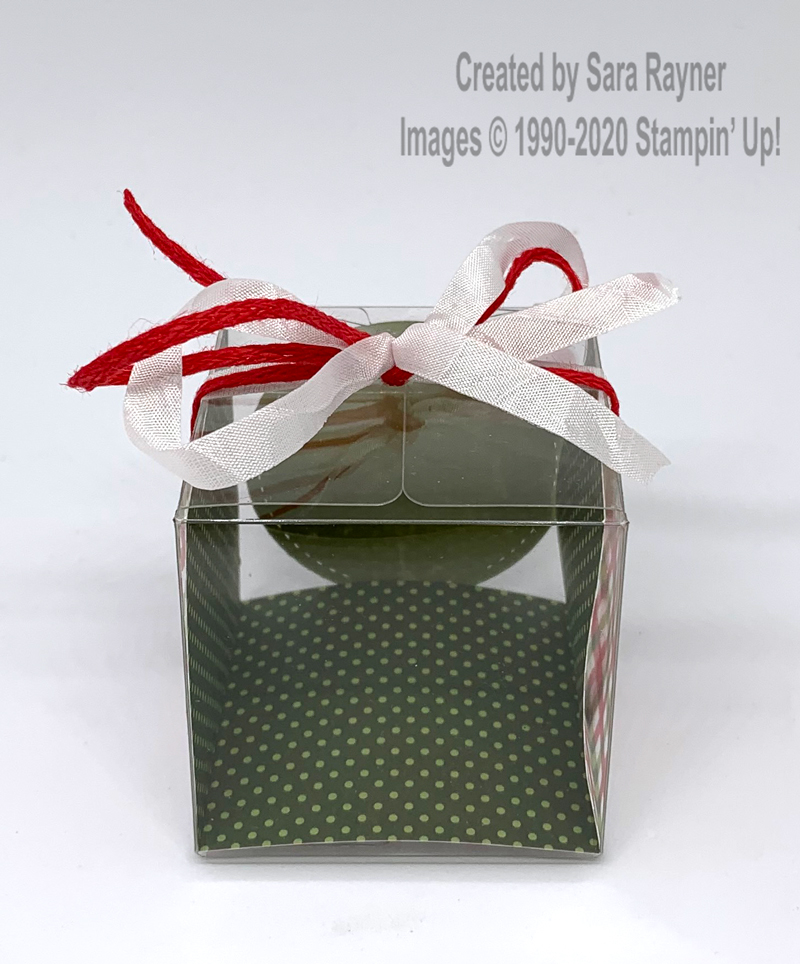
Here’s the box viewed from the back.
Thanks for stopping by.
Sara xx
You can find supplies for this heartwarming Christmas box in my online shop.
The Warm Hugs stamp set and co-ordinating Warm Wraps die set are available as a bundle which saves you 10% on purchasing them separately.



0 Comments