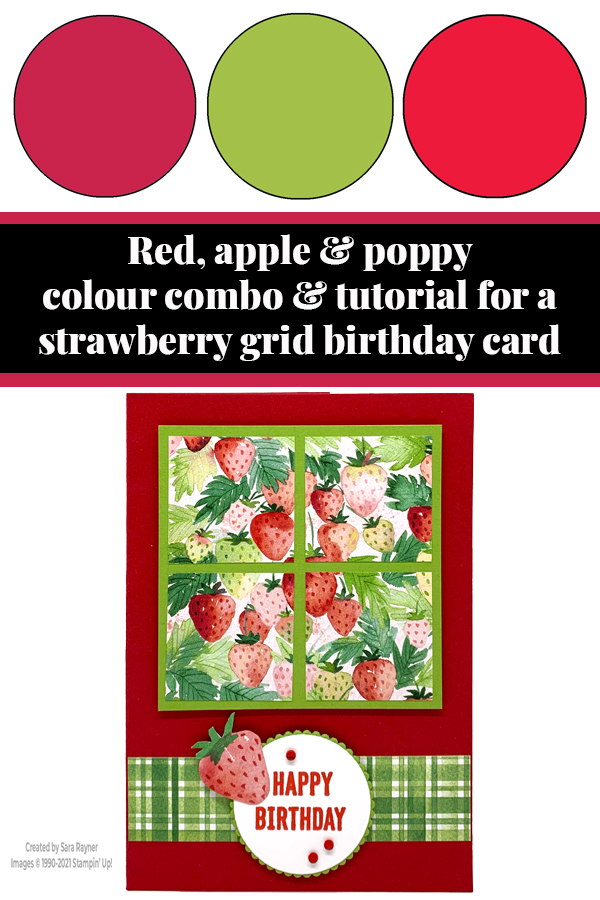
Today’s tutorial is a for a strawberry grid birthday card. This was one of four projects that we made at our monthly online Paper Dolls meeting last night.
In the tutorial below, I take you step by step through creating the strawberry grid birthday card. I also have a supply list for purchasing anything you don’t already own.
Just the same as with any kits we produce for customers, I’m not allowed to send stamped images to my team members either. Make & take projects are therefore designed so that my team can use their own stamps to add a sentiment to their projects. There is a Sweet Strawberry bundle in the January-June Mini Catalogue and the team were welcome to use this if they had it. I also enclosed some DSP for them to fussy cut the strawberry out though, in case they didn’t. If you’d like to join our next online monthly meeting then please get in touch for more information.
Colour Combo
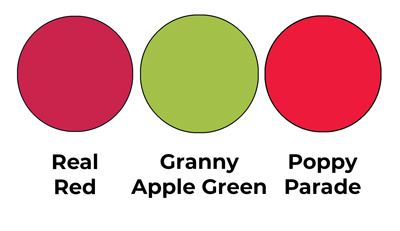
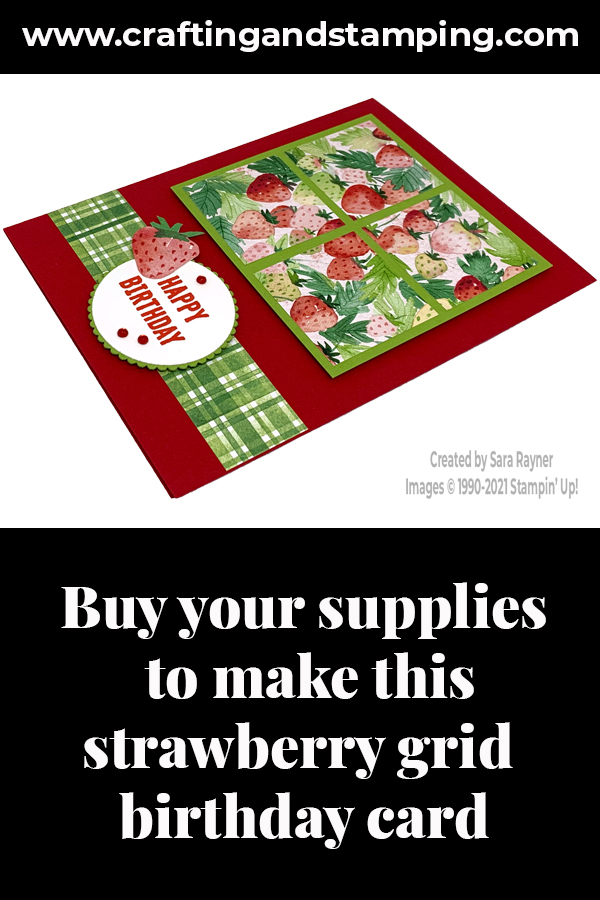
The colour combo mixes Real Red, Granny Apple Green and Poppy Parade. The red in the Berry Delightful DSP is Poppy Parade but I preferred the deeper Real Red as my base card for this project.
Strawberry birthday card tutorial
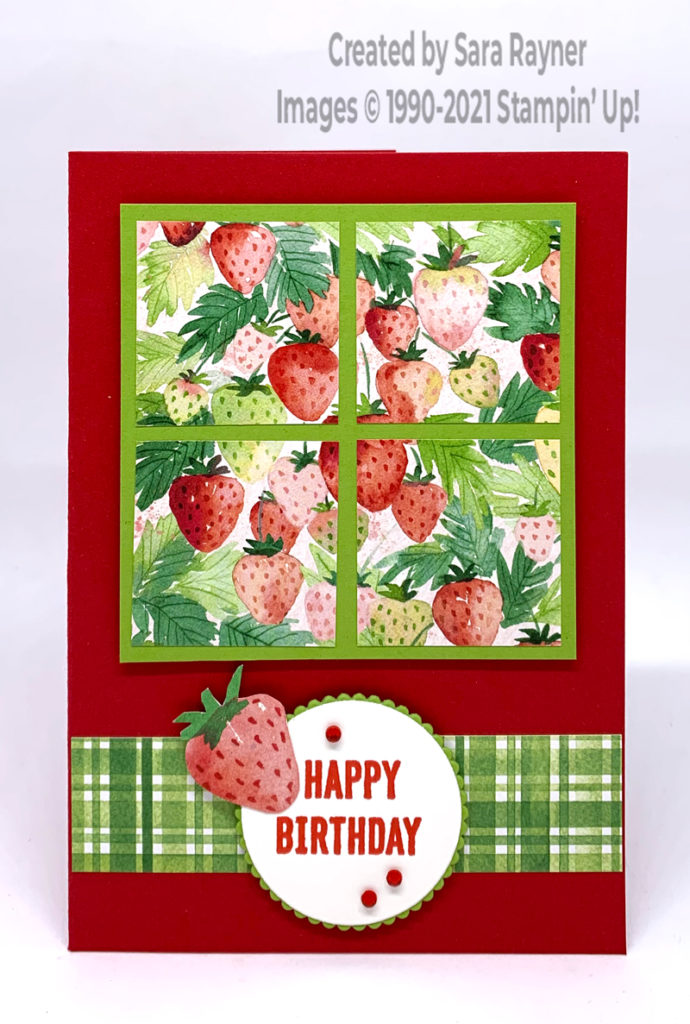
Start with an A6 portrait card of Real Red. Cut a 3″ square of Berry Delightful DSP and cut into equal quarters. Adhere evenly direct to a square of Granny Apple Green card and pop up on the card front with dimensionals. Add a strip of more Berry Delightful DSP across the base of the card front. Using Poppy Parade ink, stamp a sentiment from Itty Bitty Birthdays onto a scrap of Basic White. (I cut mine apart to stamp on two separate lines but you can also selectively ink if you prefer to keep yours whole). Die cut out with a plain Layering Circle and adhere direct to a scalloped Layering Circle die cut from Granny Apple Green. Pop the circles up on the card front with dimensionals. Fussy cut a strawberry from Berry Delightful DSP and adhere direct to the sentiment with dimensionals under the overhanging area. Finish with a trio of Red Rhinestones.
Strawberry birthday card insert
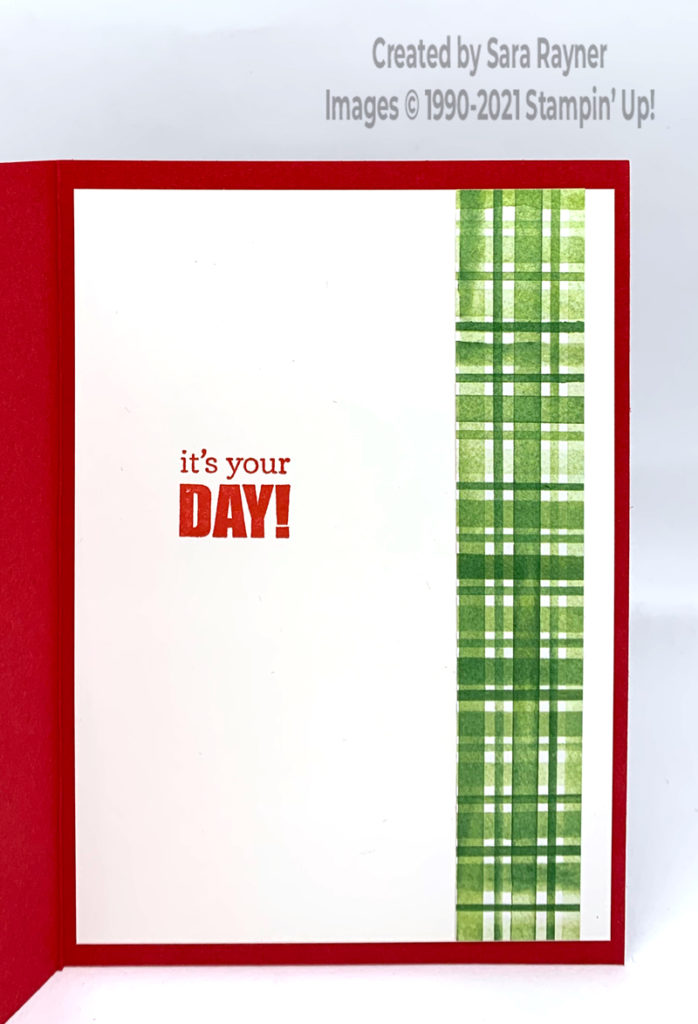
On the Basic White insert, using Poppy Parade ink, stamp another sentiment from the Itty Bitty Birthdays set. Add a strip of Berry Delightful DSP down the right side of the insert.
Thanks for stopping by.
Sara xx
Buy the supplies for this strawberry birthday card in my online shop.
Reminder – you can now choose a free Sale-a-bration product with every £45 (or £90) you spend. To add this Berry Blessings stamp set and Berry Delightful DSP to your basket, use the code 157613 once your order reaches £90.


Love the beautiful card!
Thank you 🙂