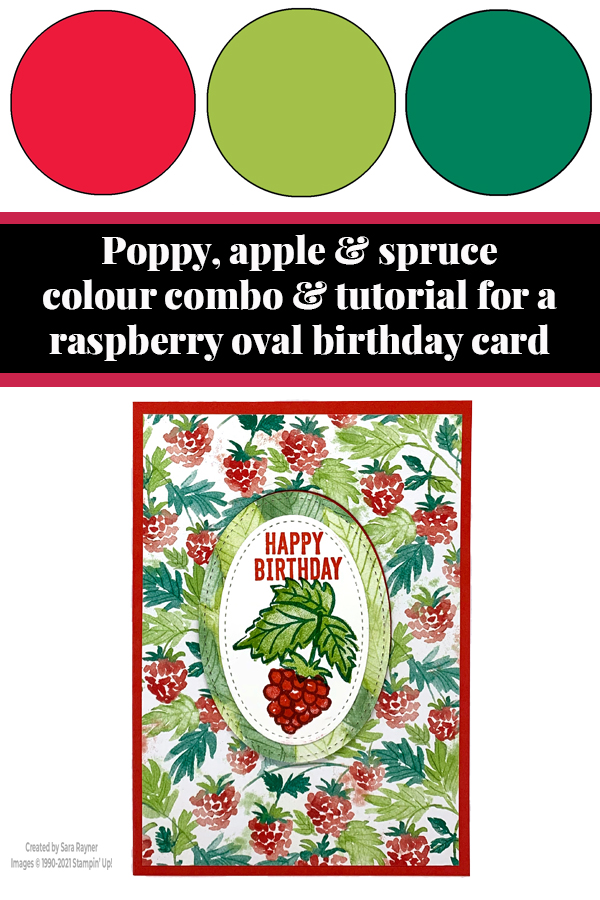
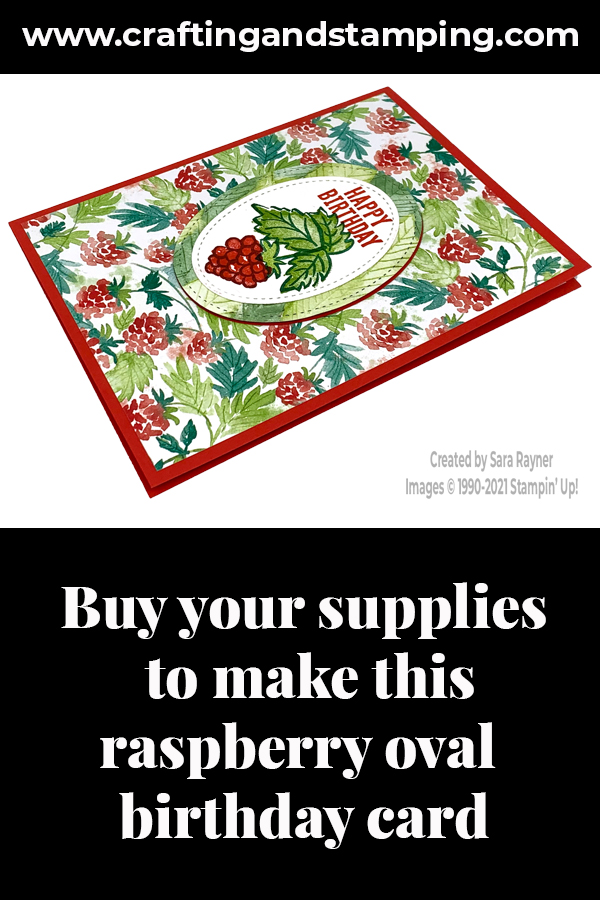
My tutorial today is for a raspberry oval birthday card. The centre oval frame is created from the same DSP layer – flipped over to show the other pattern.
In the tutorial below, I take you step by step through creating the raspberry oval birthday card. I also have a supply list for purchasing anything you don’t already own.
The great thing about the berry in the Berry Blessings set is that it can inked in different colours to be different types of berry. Here, Poppy Parade has been used to match the “raspberries” in this particular Berry Delightful DSP. Coloured in Blackberry Bliss, they can become grapes (which matches another pattern of the DSP).
Colour Combo
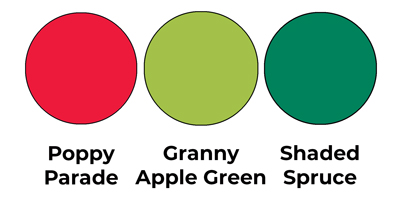
The colour combo mixes Poppy Parade, Granny Apple Green and Shaded Spruce.
Raspberry oval birthday card tutorial
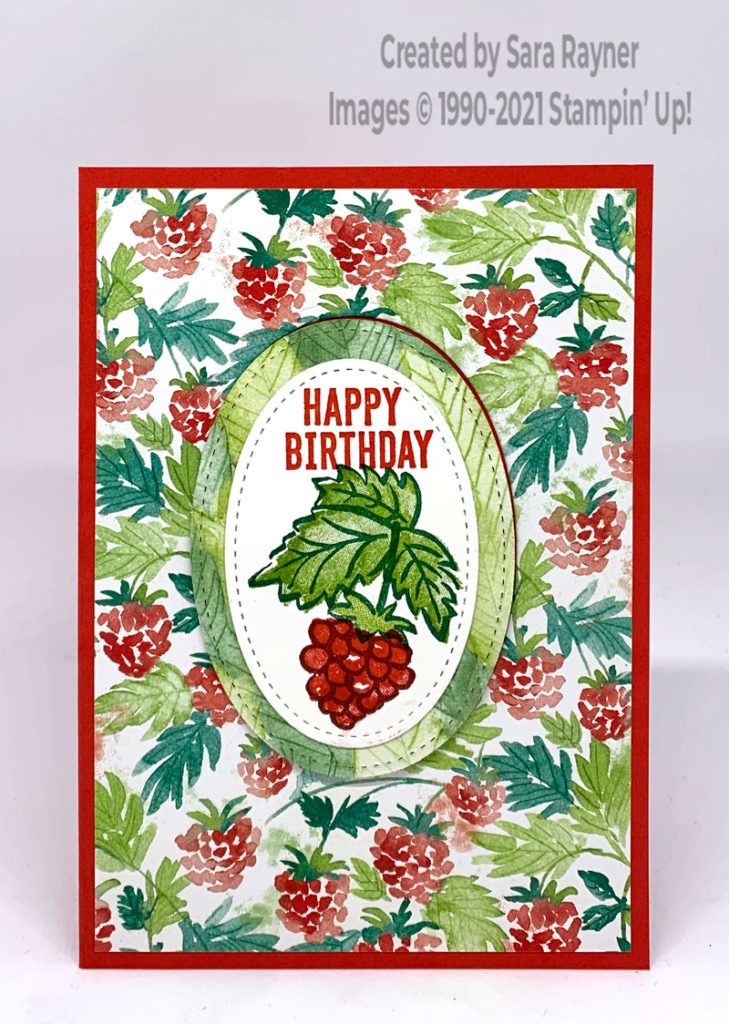
Start with an A6 portrait card of Poppy Parade. Cut a card front layer of Berry Delightful DSP. Using Stitched Shapes dies, die cut a large Stitched Oval from the centre of the DSP layer. Adhere the outer DSP layer direct to the card front. Flip the centre oval over and pop it up on dimensionals in the negative space in the centre.
Here’s the video showing how to die cut and flip the DSP. Please subscribe to my Youtube channel to make sure you see all future quick tips.
Die cut a smaller Stitched oval from Basic White card. Using Poppy Parade ink, stamp a sentiment from the Itty Bitty Birthdays set at the top of the oval. (I snipped my stamp apart to stamp on separate lines but you could also mask and stamp the sentiment if you don’t want to cut your stamp). Using Shaded Spruce ink, stamp the outline leaves and stem from the Berry Blessings below the sentiment. Add the outline berry to the end of the stem with Cherry Cobbler ink. Using Granny Apple Green ink, stamp the solid leaves and stem over the top of the Spruce outline. Add the solid berry with Poppy Parade ink. Adhere the stamped oval direct to the centre of the popped up oval frame.
Raspberry oval birthday card insert
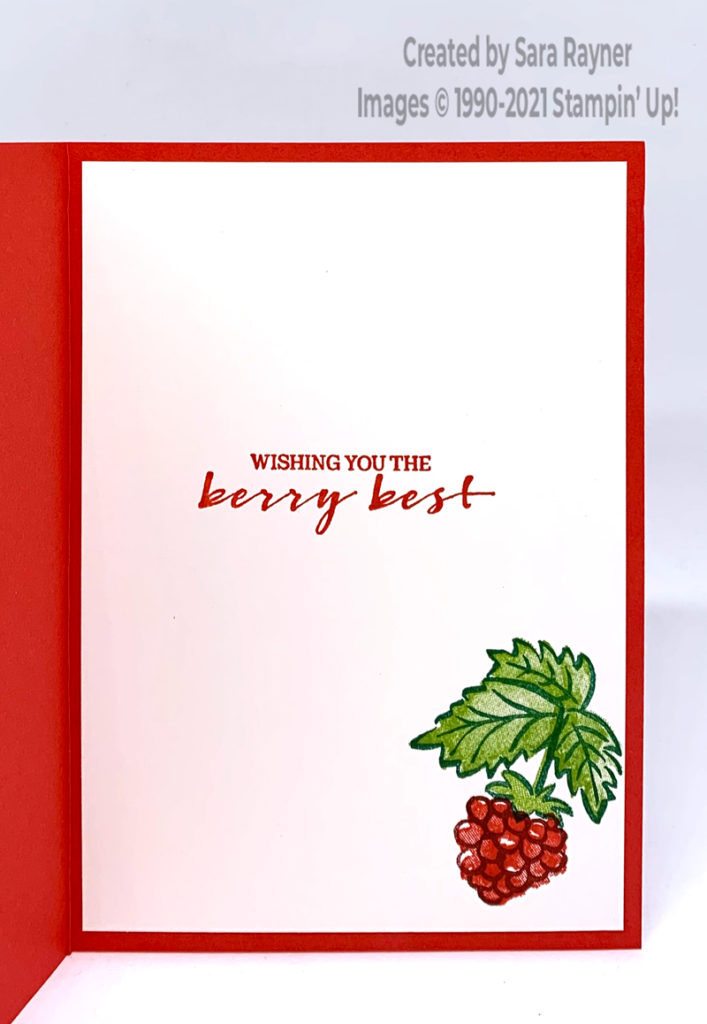
On the Basic White insert, using Poppy Parade ink, stamp a sentiment from the Berry Blessings set. In the lower right corner, stamp the berry and leaves in an identical fashion to the one on the card front.
Thanks for stopping by.
Sara xx
Buy the supplies for this raspberry oval birthday card in my online shop.
Reminder – you can now choose a free Sale-a-bration product with every £45 (or £90) you spend. To add this Berry Blessings stamp set and Berry Delightful DSP to your basket, use the code 157613 once your order reaches £90.


0 Comments