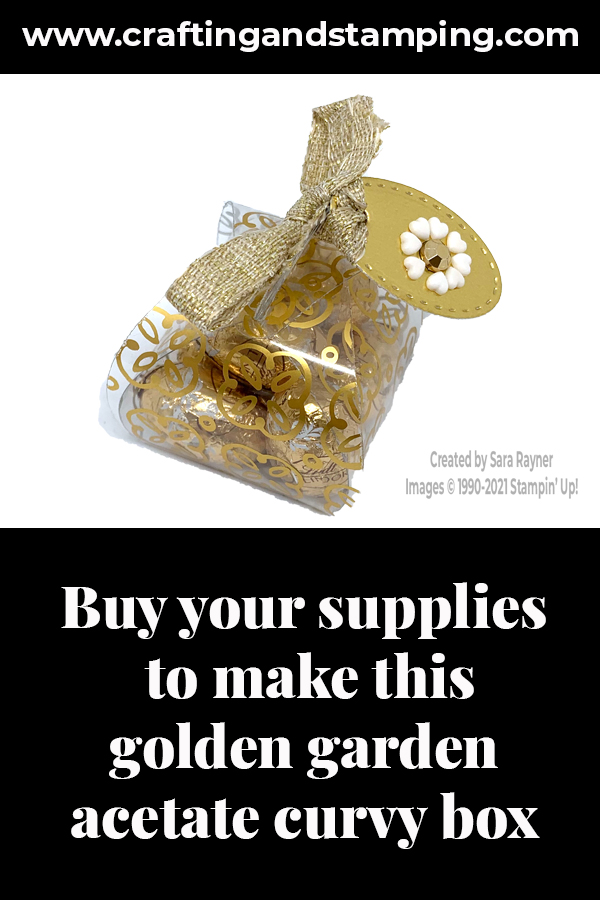
Today’s tutorial is for a golden garden acetate curvy box. This box doesn’t have any seams to it, so you don’t need to worry about how to conceal your adhesive.
Each week over on my Facebook page (please pop over and Like or Follow) I choose a product pick of the week to feature. This week, it’s the Golden Garden Acetate. I’ll have a selection of tutorials for you throughout the week that use this pretty printed acetate.
In the tutorial below, I take you step by step through creating the golden garden acetate curvy box. I also have a supply list for purchasing anything you don’t already own.
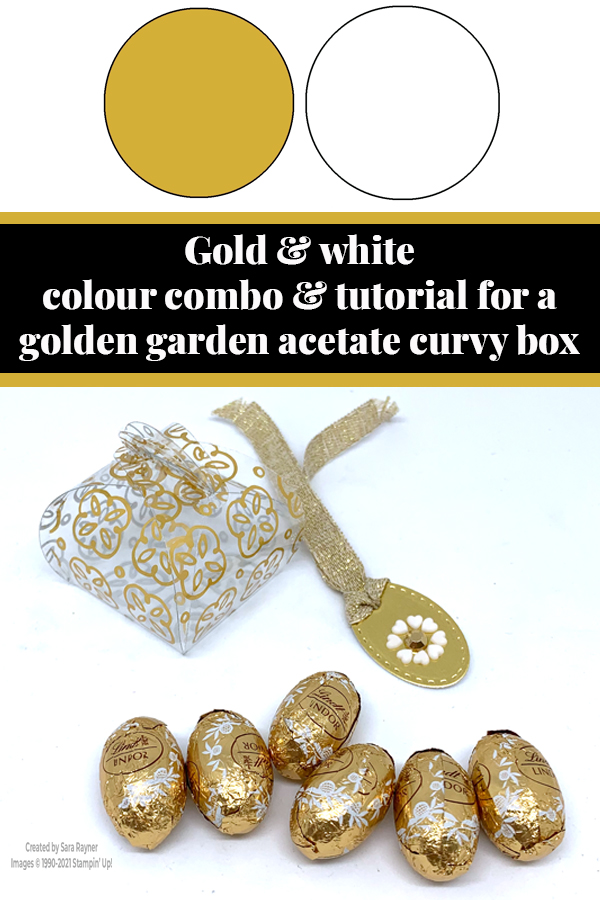
The Golden Garden Acetate pack has three different 12″ x 12″ patterns. Two of them match patterns in the Fine Art Floral DSP. I used the odd one out to make this box.
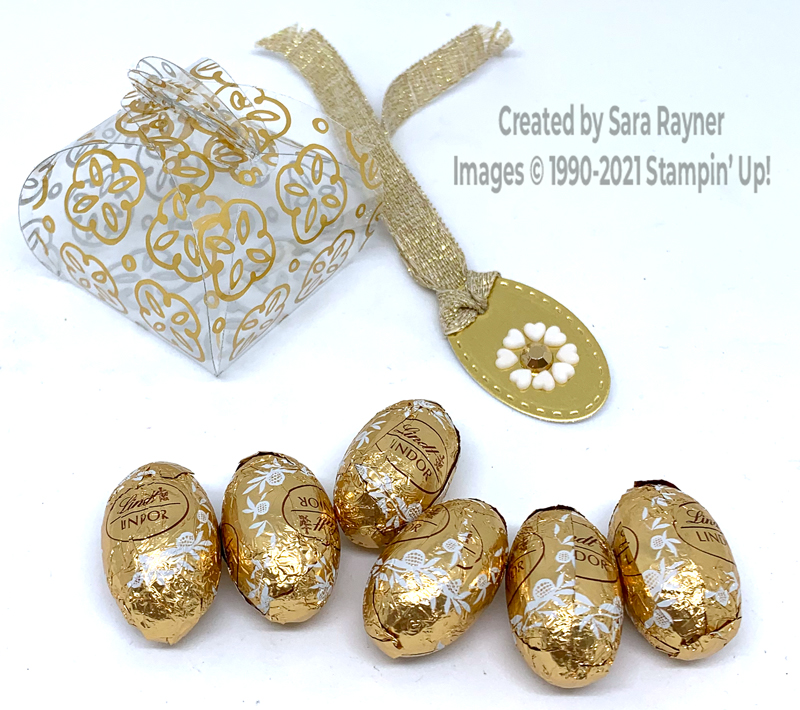
I’ve started preparing Easter treats by filling this dinky box with some mini eggs (chosen to match my colour scheme, lol), but this could also be used for a small Mother’s Day treat too.
Colour Combo
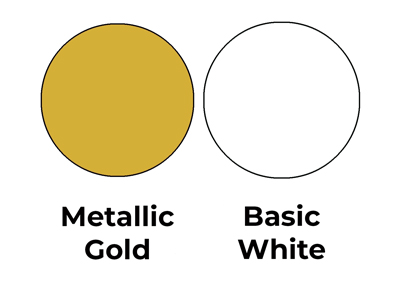
The colour combo mixes Metallic Gold and Basic White.
Golden garden acetate curvy box tutorial
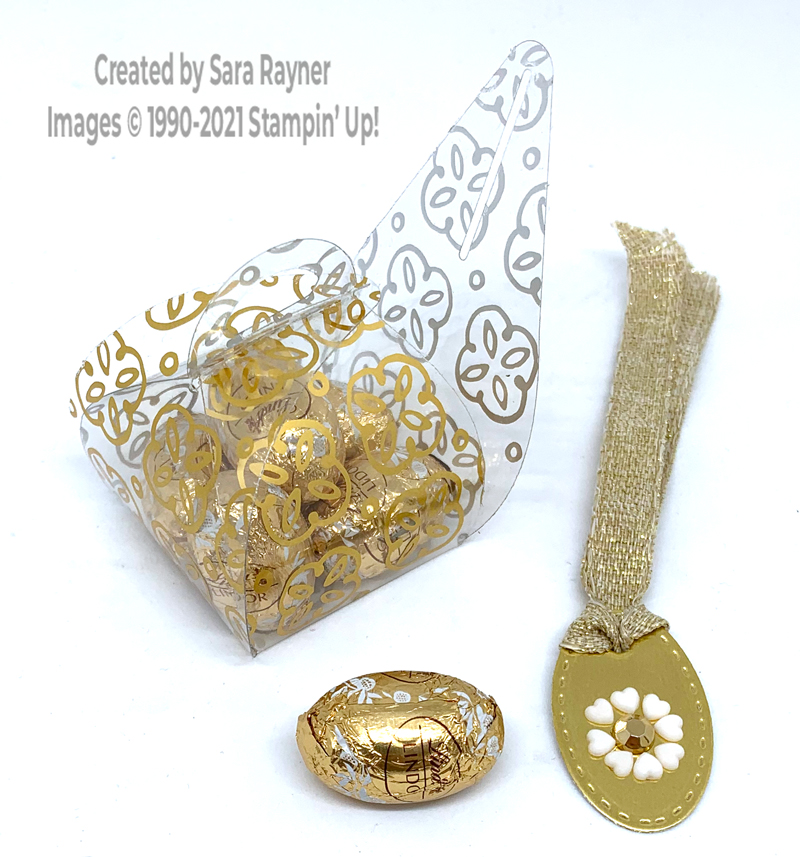
Die cut a Mini Curvy Keepsakes Box from Golden Garden Acetate. Fold and assemble the box. (Tip – remember that there is a clear film on the silver side of the acetate to protect the printing, this needs the be removed as part of your box assembly). Die cut a small oval tag from Gold Foil using the same Mini Curvy Keepsakes Box die set. Decorate the tag with a flower constructed from a Gilded Gem centre, surrounded by Resin Hearts petals. Tie the tag onto the box with Fine Art Ribbon.
Thanks for stopping by.
Sara xx
Buy the supplies for this golden garden acetate curvy box in my online shop.
Reminder – last two weeks to choose a free Sale-a-bration product with every £45 (or £90) you spend.

0 Comments
Trackbacks/Pingbacks