I have one of my oversize card projects for you today, with this golden garden acetate birthday card tutorial. This was a commissioned card and is A5 size (ie. A4 folded in half).
The gold of the Golden Garden Acetate is matched and mirrored with the metallic ribbon and gold foiling.
In the tutorial below, I take you step by step through creating the golden garden acetate birthday card. I also have a supply list for purchasing anything you don’t already own.
As a special, oversize card, this does use a greater range of stamps and dies than I usually include on a single project. If you don’t have all the supplies you could simplify the design. For example, by using plain rectangle sentiment layers and adding more leaves, instead of the peony. Or you could buy the extra supplies you need 😉
I’m using the “odd one out” acetate again for this project but you could also use the patterns that match our Fine Art Floral DSP. You can see those patterns on this Missing You card and this Fine Art Floral birthday card.
Colour Combo
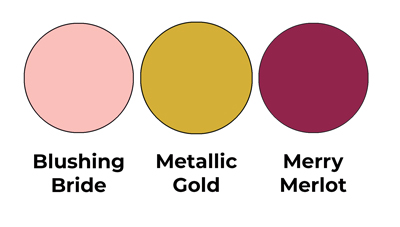
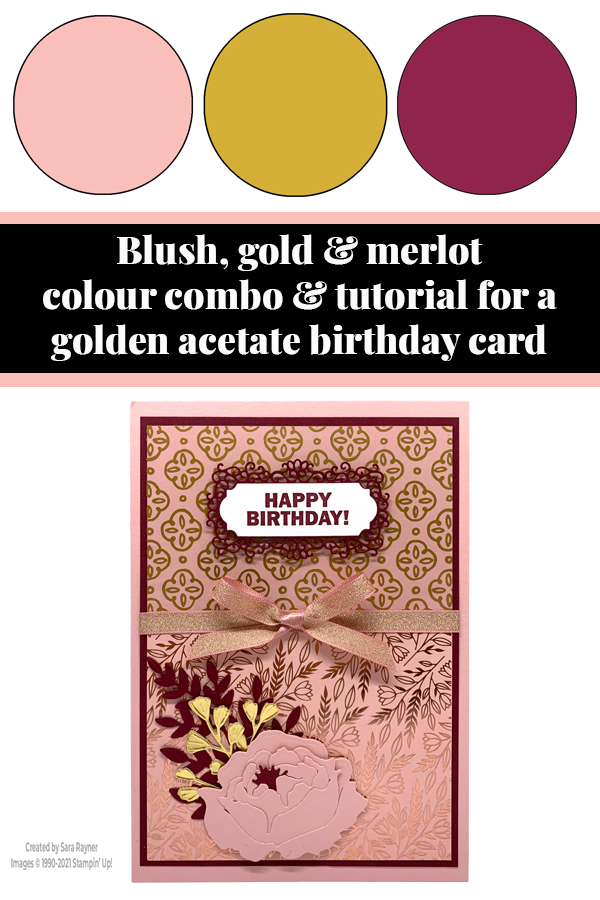
The colour combo mixes Blushing Bride, Metallic Gold and Merry Merlot.
Golden Garden Acetate birthday card tutorial
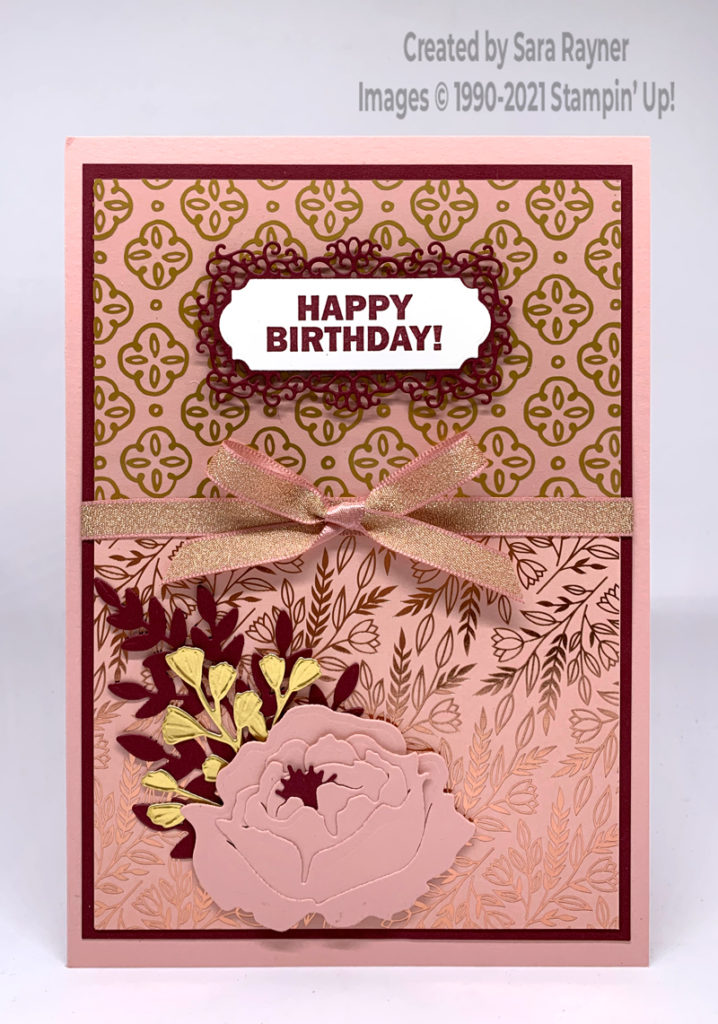
Start with an A5 portrait card of Blushing Bride. Mat a card front layer of Merry Merlot with Love You Always Specialty DSP across the bottom half. Cut a card front layer of Golden Garden Acetate for the top half (don’t adhere it yet) and remove the protective film. (I have a video here with tips for using your acetate). Using Merry Merlot ink, stamp a sentiment from the Approaching Perfection set (a Sale-a-bration freebie), onto a scrap of Basic White card. Die cut out with one of the simple shape Ornate Frame dies. Mat onto a co-ordinating fancy frame die cut from Merry Merlot using the same die set. Pop the sentiment up on the front of the Golden Garden Acetate with dimensionals. Now apply your adhesive (I recommend Tear & Tape) behind the sentiment and adhere the acetate direct to the Merry Merlot layer.
Wrap the join between the acetate and the Specialty DSP with Blushing Bride Metallic Ribbon before adhering the layers direct to the card front. Add a bow of the same ribbon to the centre with Mini Glue Dots. Using the Forever Flourishing dies, die cut large ferns from Merry Merlot card and Gold Foil. Adhere these direct to the bottom left of the card front. Die cut and assemble a large peony from Blushing Bride and Merry Merlot card. Pop the flower up over the leaves with dimensionals.
Golden Garden Acetate birthday card insert

On the Basic White insert, stamp sentiments from Happiest of Birthdays and Family Party using Merry Merlot ink. Using Blushing Bride and Merry Merlot inks, stamp an alternating pattern of leaves from the Forever Fern stamp set along the base.
Thanks for stopping by.
Sara xx
You can find supplies for this golden garden acetate birthday card in my online shop.
Reminder – we’re now in the last two weeks to choose a free Sale-a-bration product with every £45 (or £90) you spend.


0 Comments