Each week over on my Facebook page (please pop over and Like or Follow) I choose a product pick of the week to feature. This week, it’s the Enamel Sticker Icons. Each pack includes 64 peel and stick embellishments. I’ll have tutorials for you this week, that share different ideas for using these simple but striking pieces.
Colour Combo

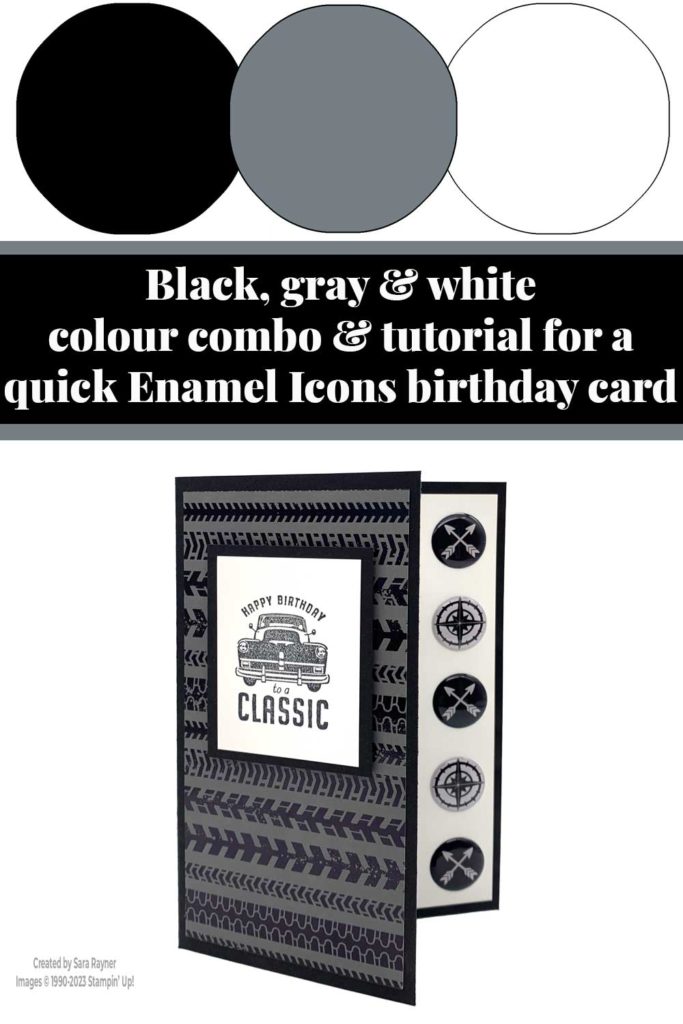
This colour combo mixes Basic Black, Basic Gray and Basic White.
Quick Enamel Sticker Icons birthday card
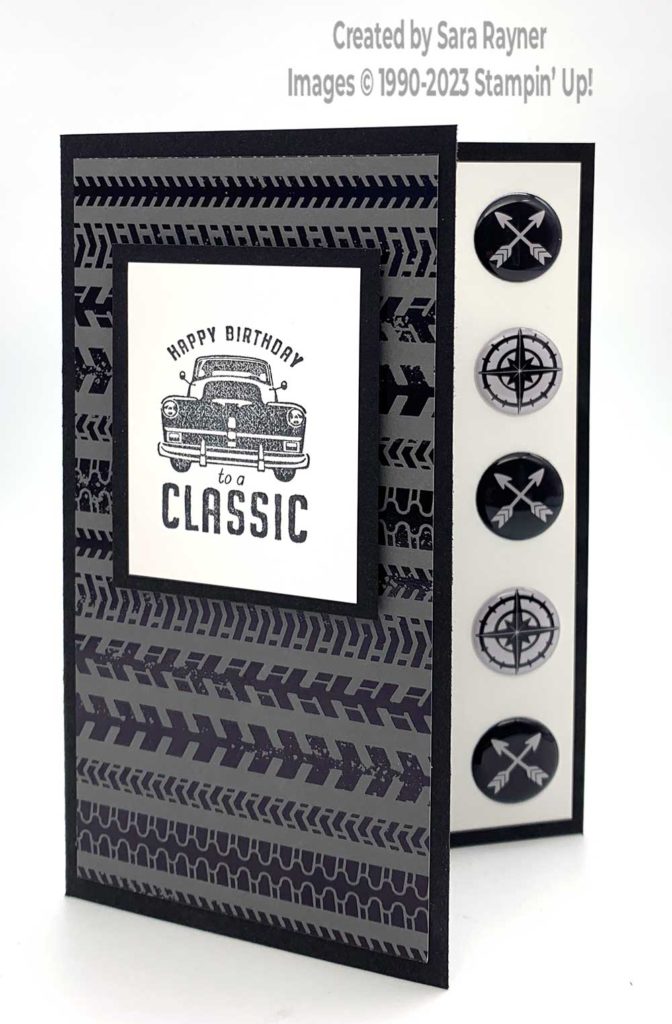
Start with an A6 portrait card of Basic Black. Cut the card front to just 3″ wide (see video). Cut a card front layer (2-3/4″ x 5-1/2″) of Ready to Ride Specialty DSP. Adhere direct to the card front. Using Memento Black ink stamp a sentiment from the He’s All That stamp set onto a 1-3/4″ x 2-1/4″ piece of Basic White card. Mat onto a 2″ x 2-1/2″ piece of Basic Black card. Pop the sentiment panel up on the card front with dimensionals.
Here’s a short video showing how this quick card comes together. Please subscribe to my Youtube channel to see my quick cards and quick tips each week.
Quick Enamel Sticker Icons birthday card insert
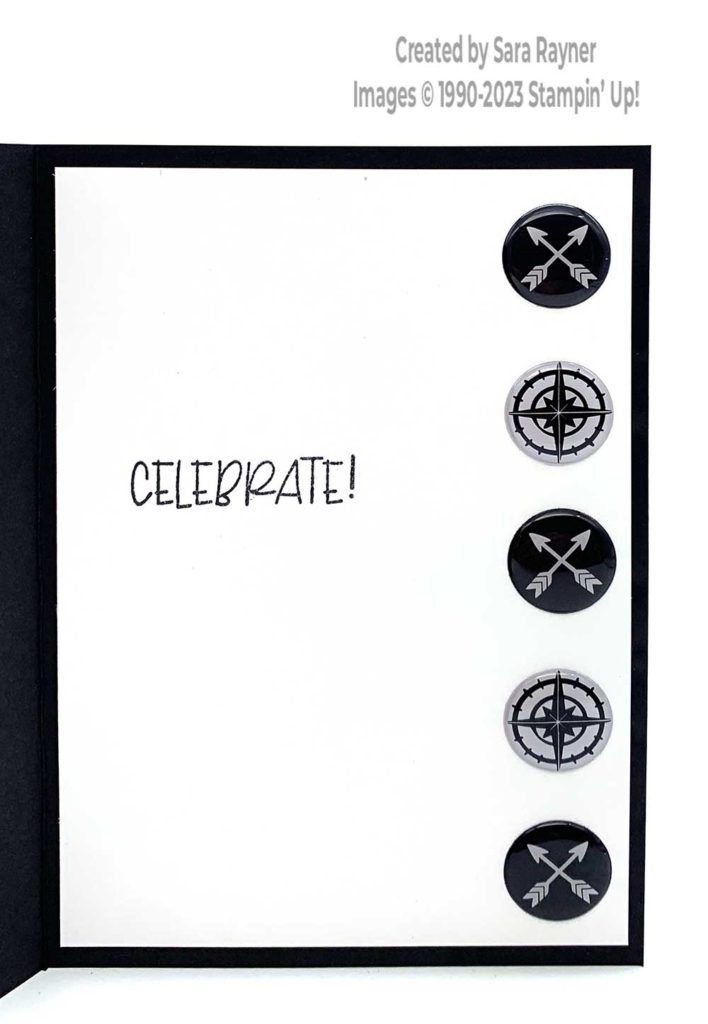
On the Basic White insert, using Memento Black ink, stamp a sentiment from the Share a Milkshake set left of centre. With the card front closed, adhere three of the darker Enamel Sticker Icons, top, middle and bottom of the exposed insert. Add two lighter Enamel Sticker Icons in between the darker ones.
Thanks for stopping by.
Sara xx
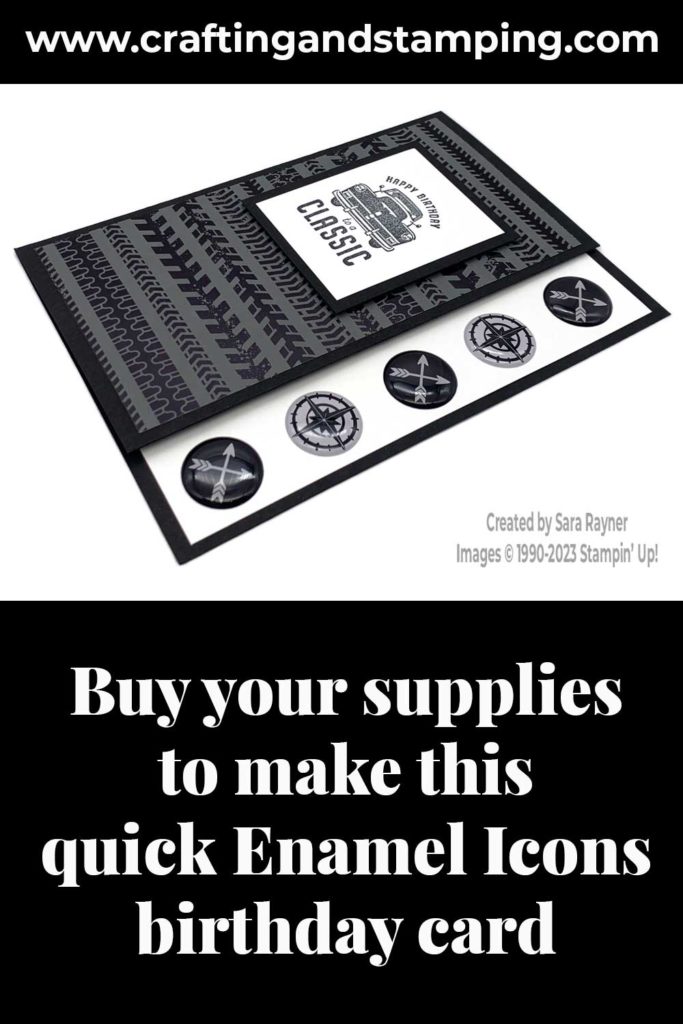
Buy the supplies for this quick Enamel Sticker Icons birthday card in my online shop.


0 Comments