Today I’m sharing a tutorial for a Winter Snow choc bag. This was one another of the make and take projects at our November Paper Dolls meeting.
In the tutorial below, I take you step by step through creating the Winter Snow choc bag. I also have a supply list for purchasing anything you don’t already own.
This treat bag is designed to be gifted with the Winter Snow shaker card.
The bag used here is the printed one from the Annual Catalogue but there is also a Mosaic printed bag (slightly different size) in the August-December catalogue. I chose this one because I thought the little sunbursts looked more in keeping with the snowflake theme.
Colour Combo

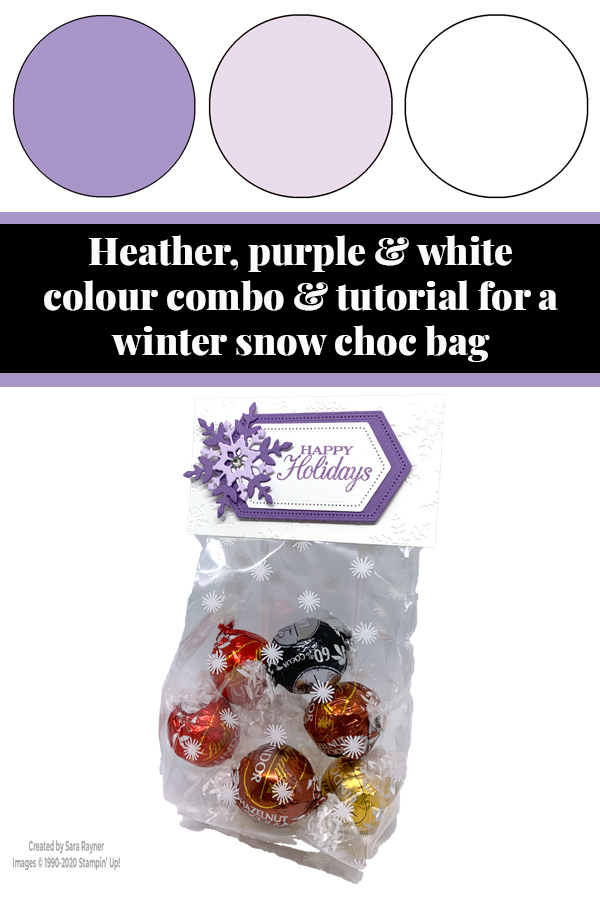
The colour combo mixes Highland Heather, Purple Posy and Whisper White.
Winter Snow choc bag tutorial
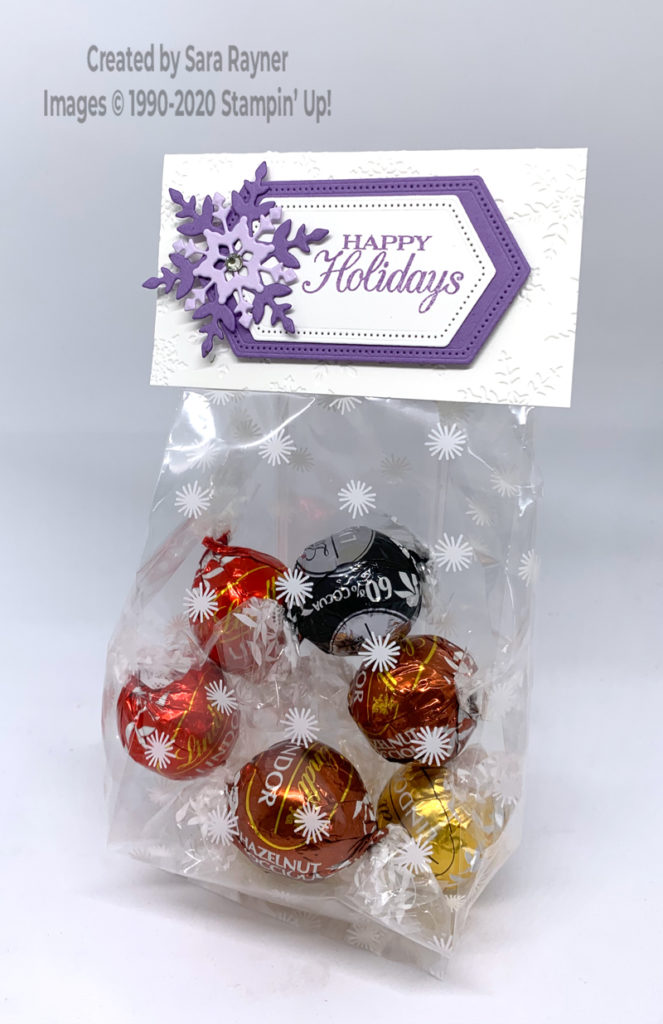
Take a 3″ x 9″ Printed Gussetted Cellophane Bag and fill with your treats. If the bag is larger than needed for the treats you have, then trim away a portion from the top of the bag until it is a more suitable size. (NB. this trimmed cellophane works well for creating pretty printed windows in your creations). Decide whether to close the bag entirely flat or fold the sides in and use this to determine the width of the bag topper. Cut a piece of Whisper White card to that width and approx. 4″ deep. Run through the Winter Snow embossing folder. Fold in half (so the bag topper is 2″ deep) and adhere to the top of the bag using Tear & Tape on both front and back.
Die cut a Stitched Nested Label from Whisper White card. Use the next size up to die cut one from Highland Heather card. Using Highland Heather ink, stamp a sentiment from Poinsettia Petals onto the white label. Layer the labels together direct and pop up on the front of the bag topper with dimensionals. Using the So Many Snowflakes dies, die cut snowflakes from scraps of Highland Heather and Purple Posy card. Adhere the snowflakes to the bag topper front, to the side of the label and finish the centre with a Basic Rhinestones.
Thanks for stopping by.
Sara xx
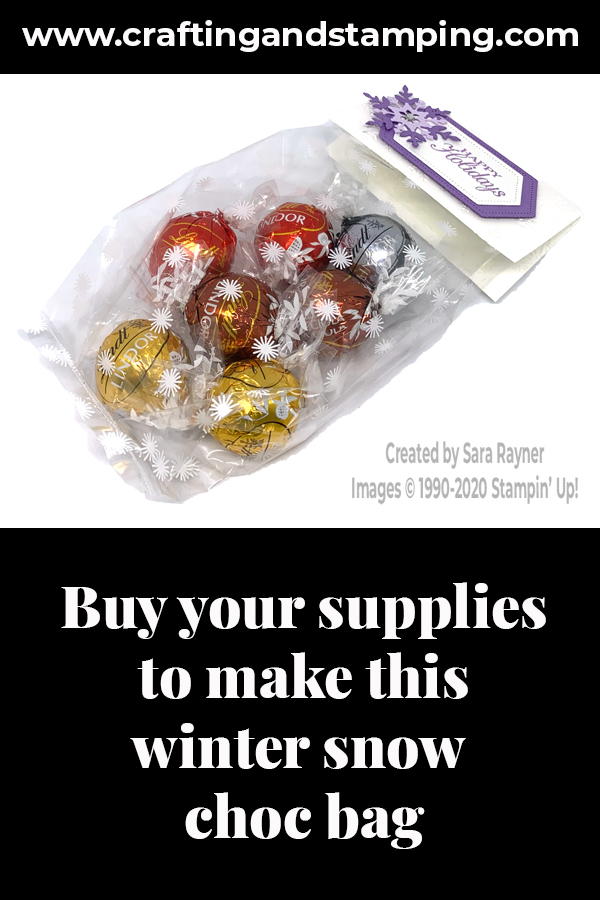
You can find supplies for this Winter Snow choc bag in my online shop.
0 Comments